How to Tie a Martial Arts Belt
If you have an embroidered belt, this process will present your belt in the final phase with both embroidered tails clearly visible to those around you.
Follow these steps and you will have both embroidered tails facing front:
-
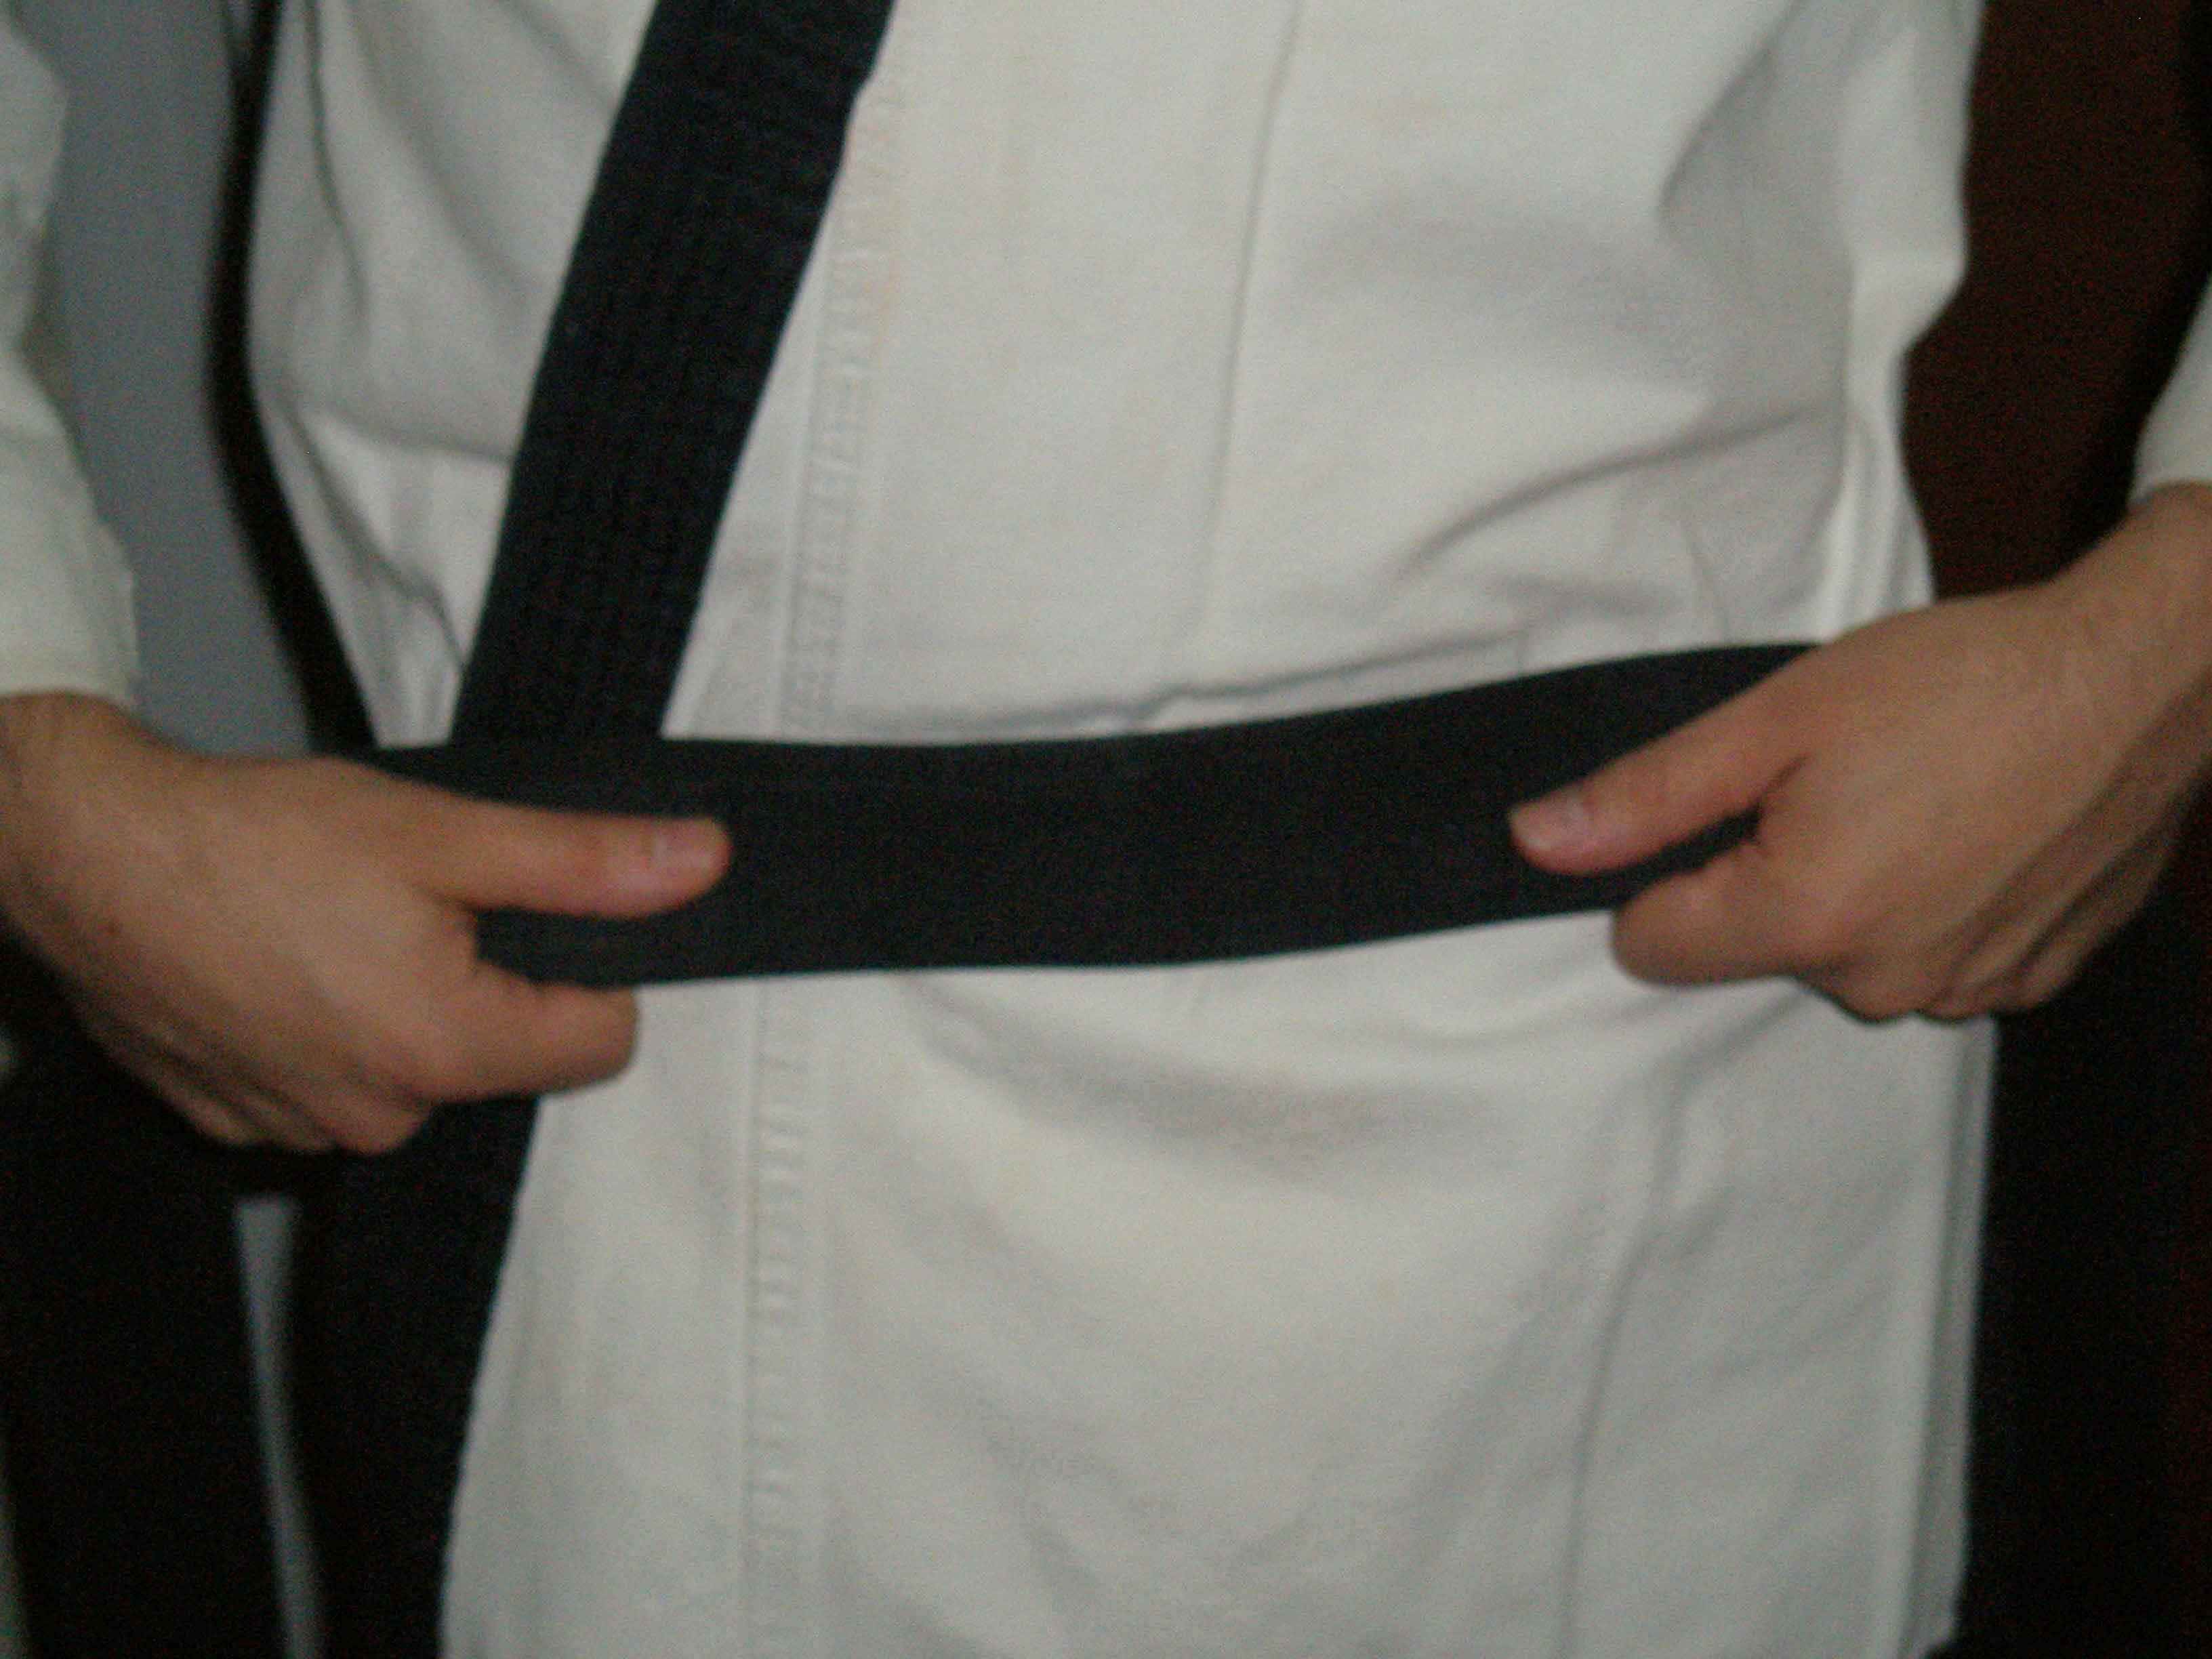
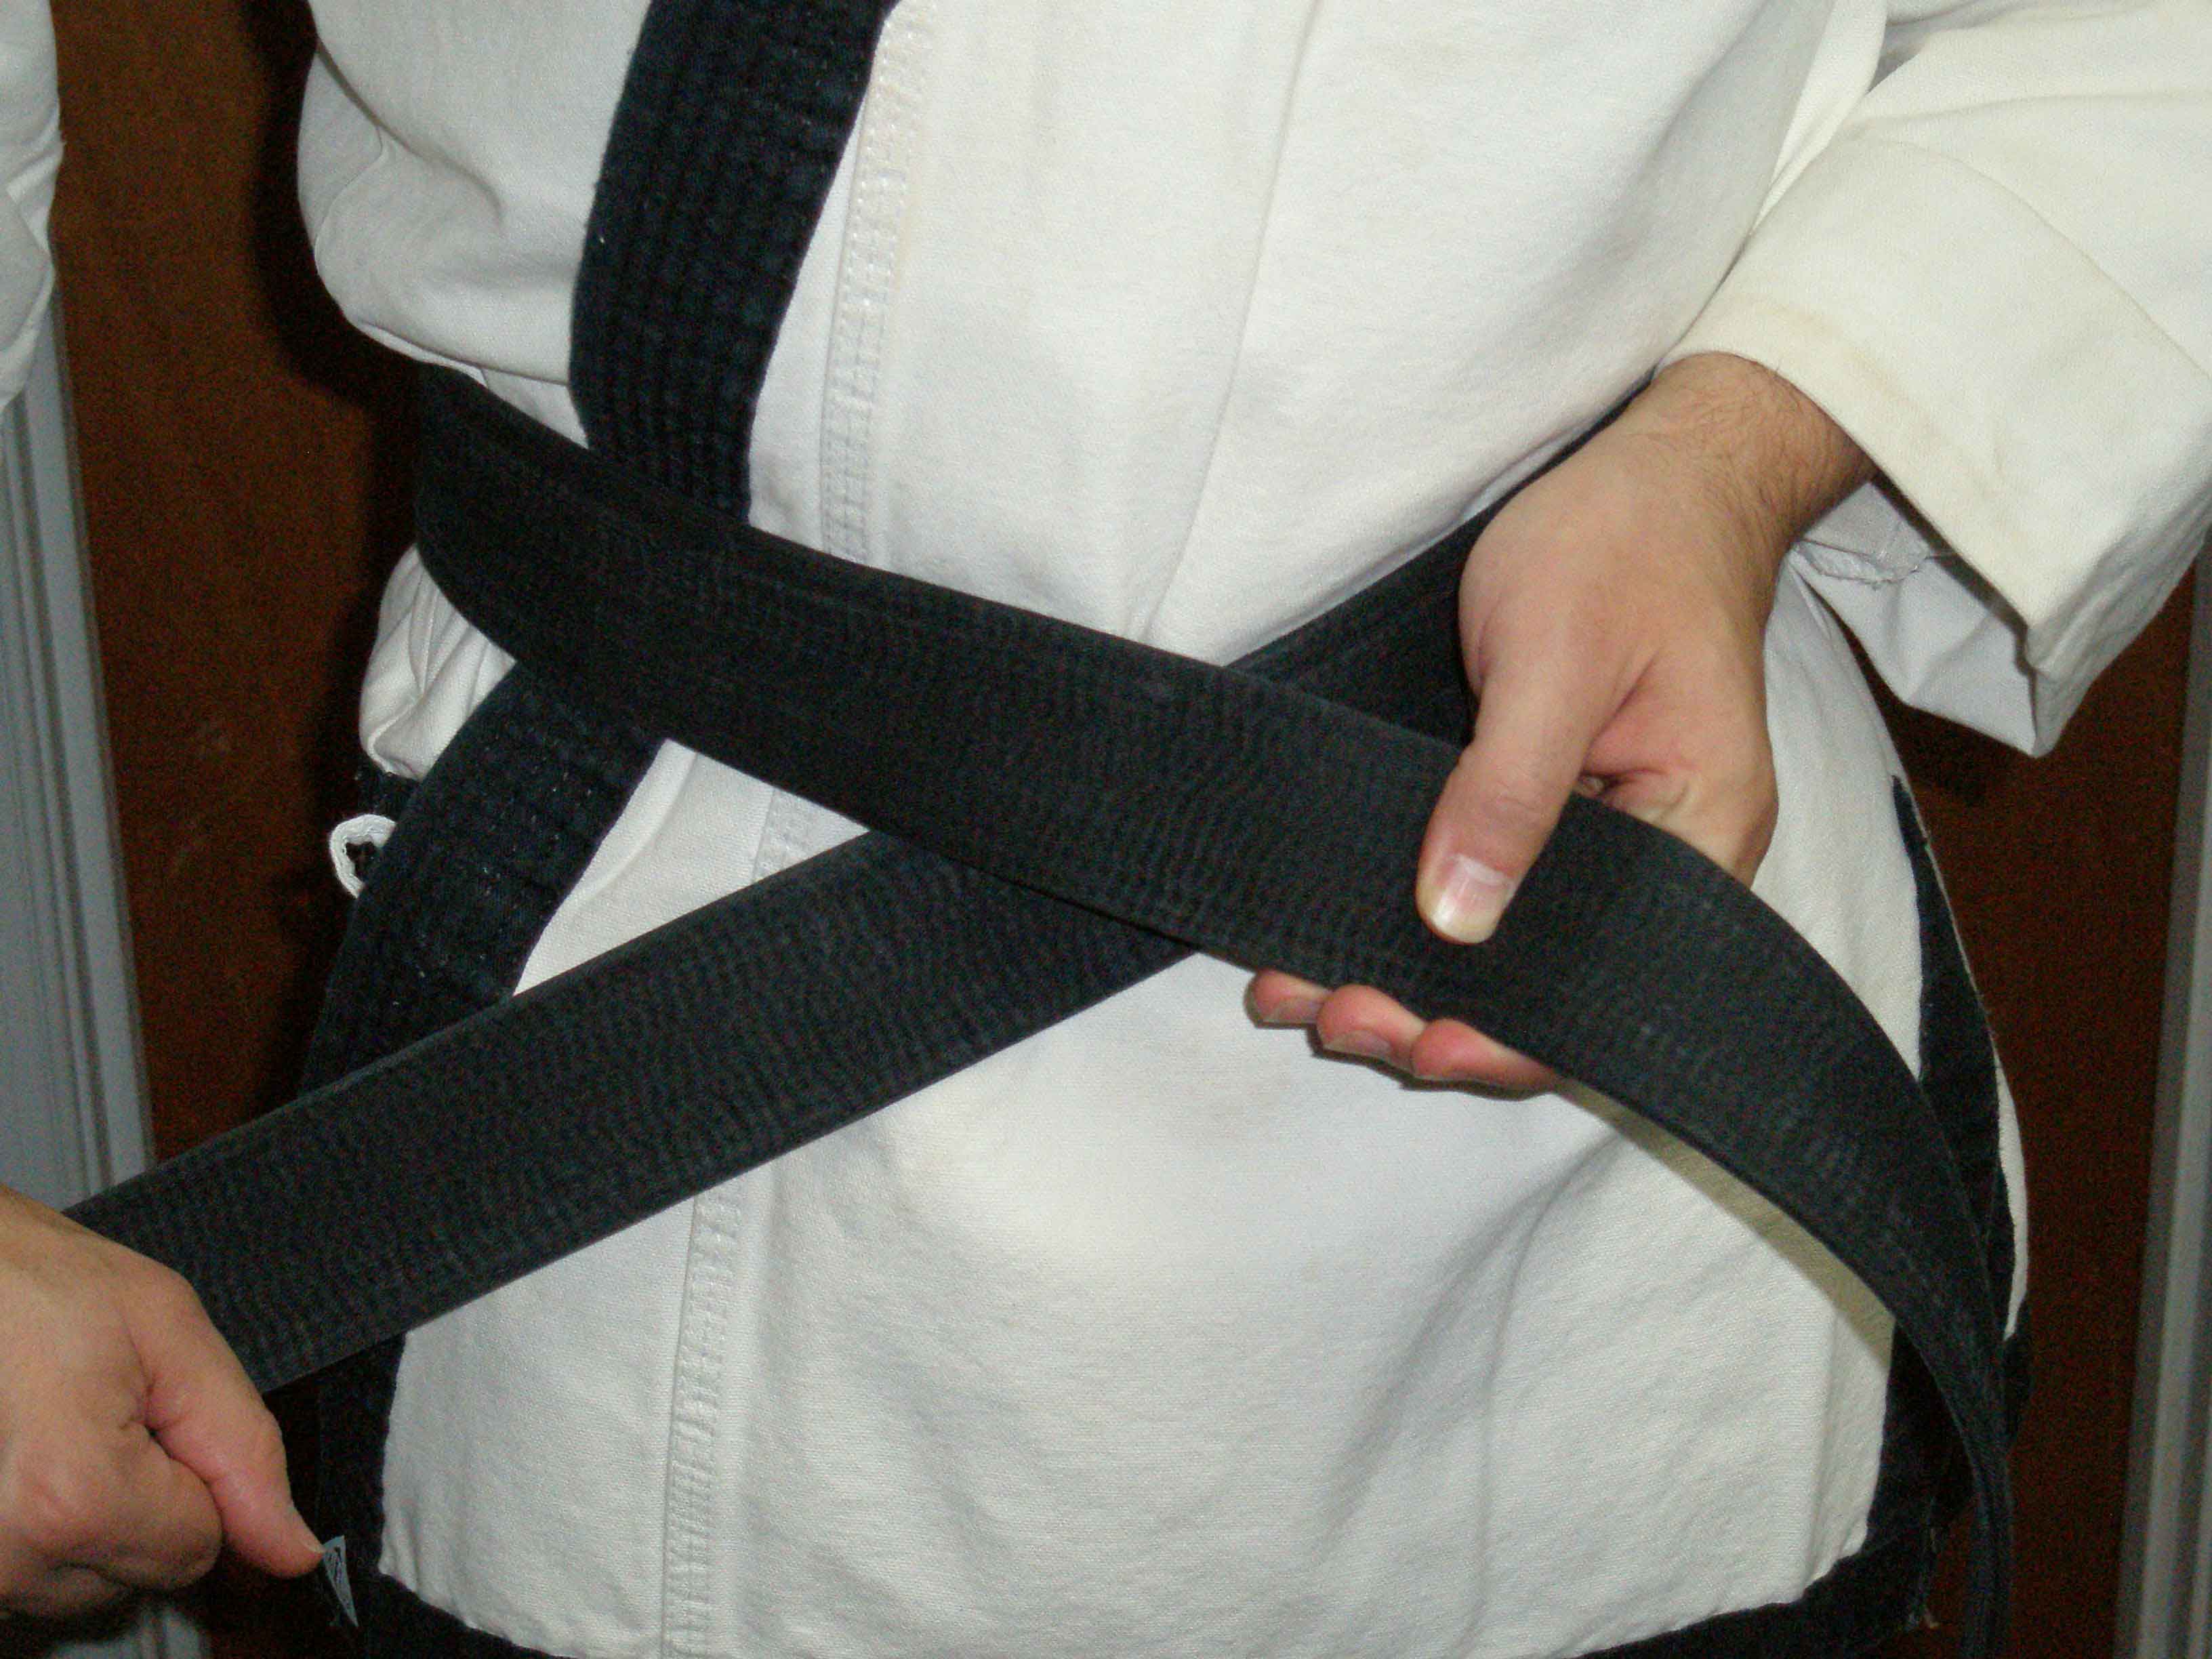
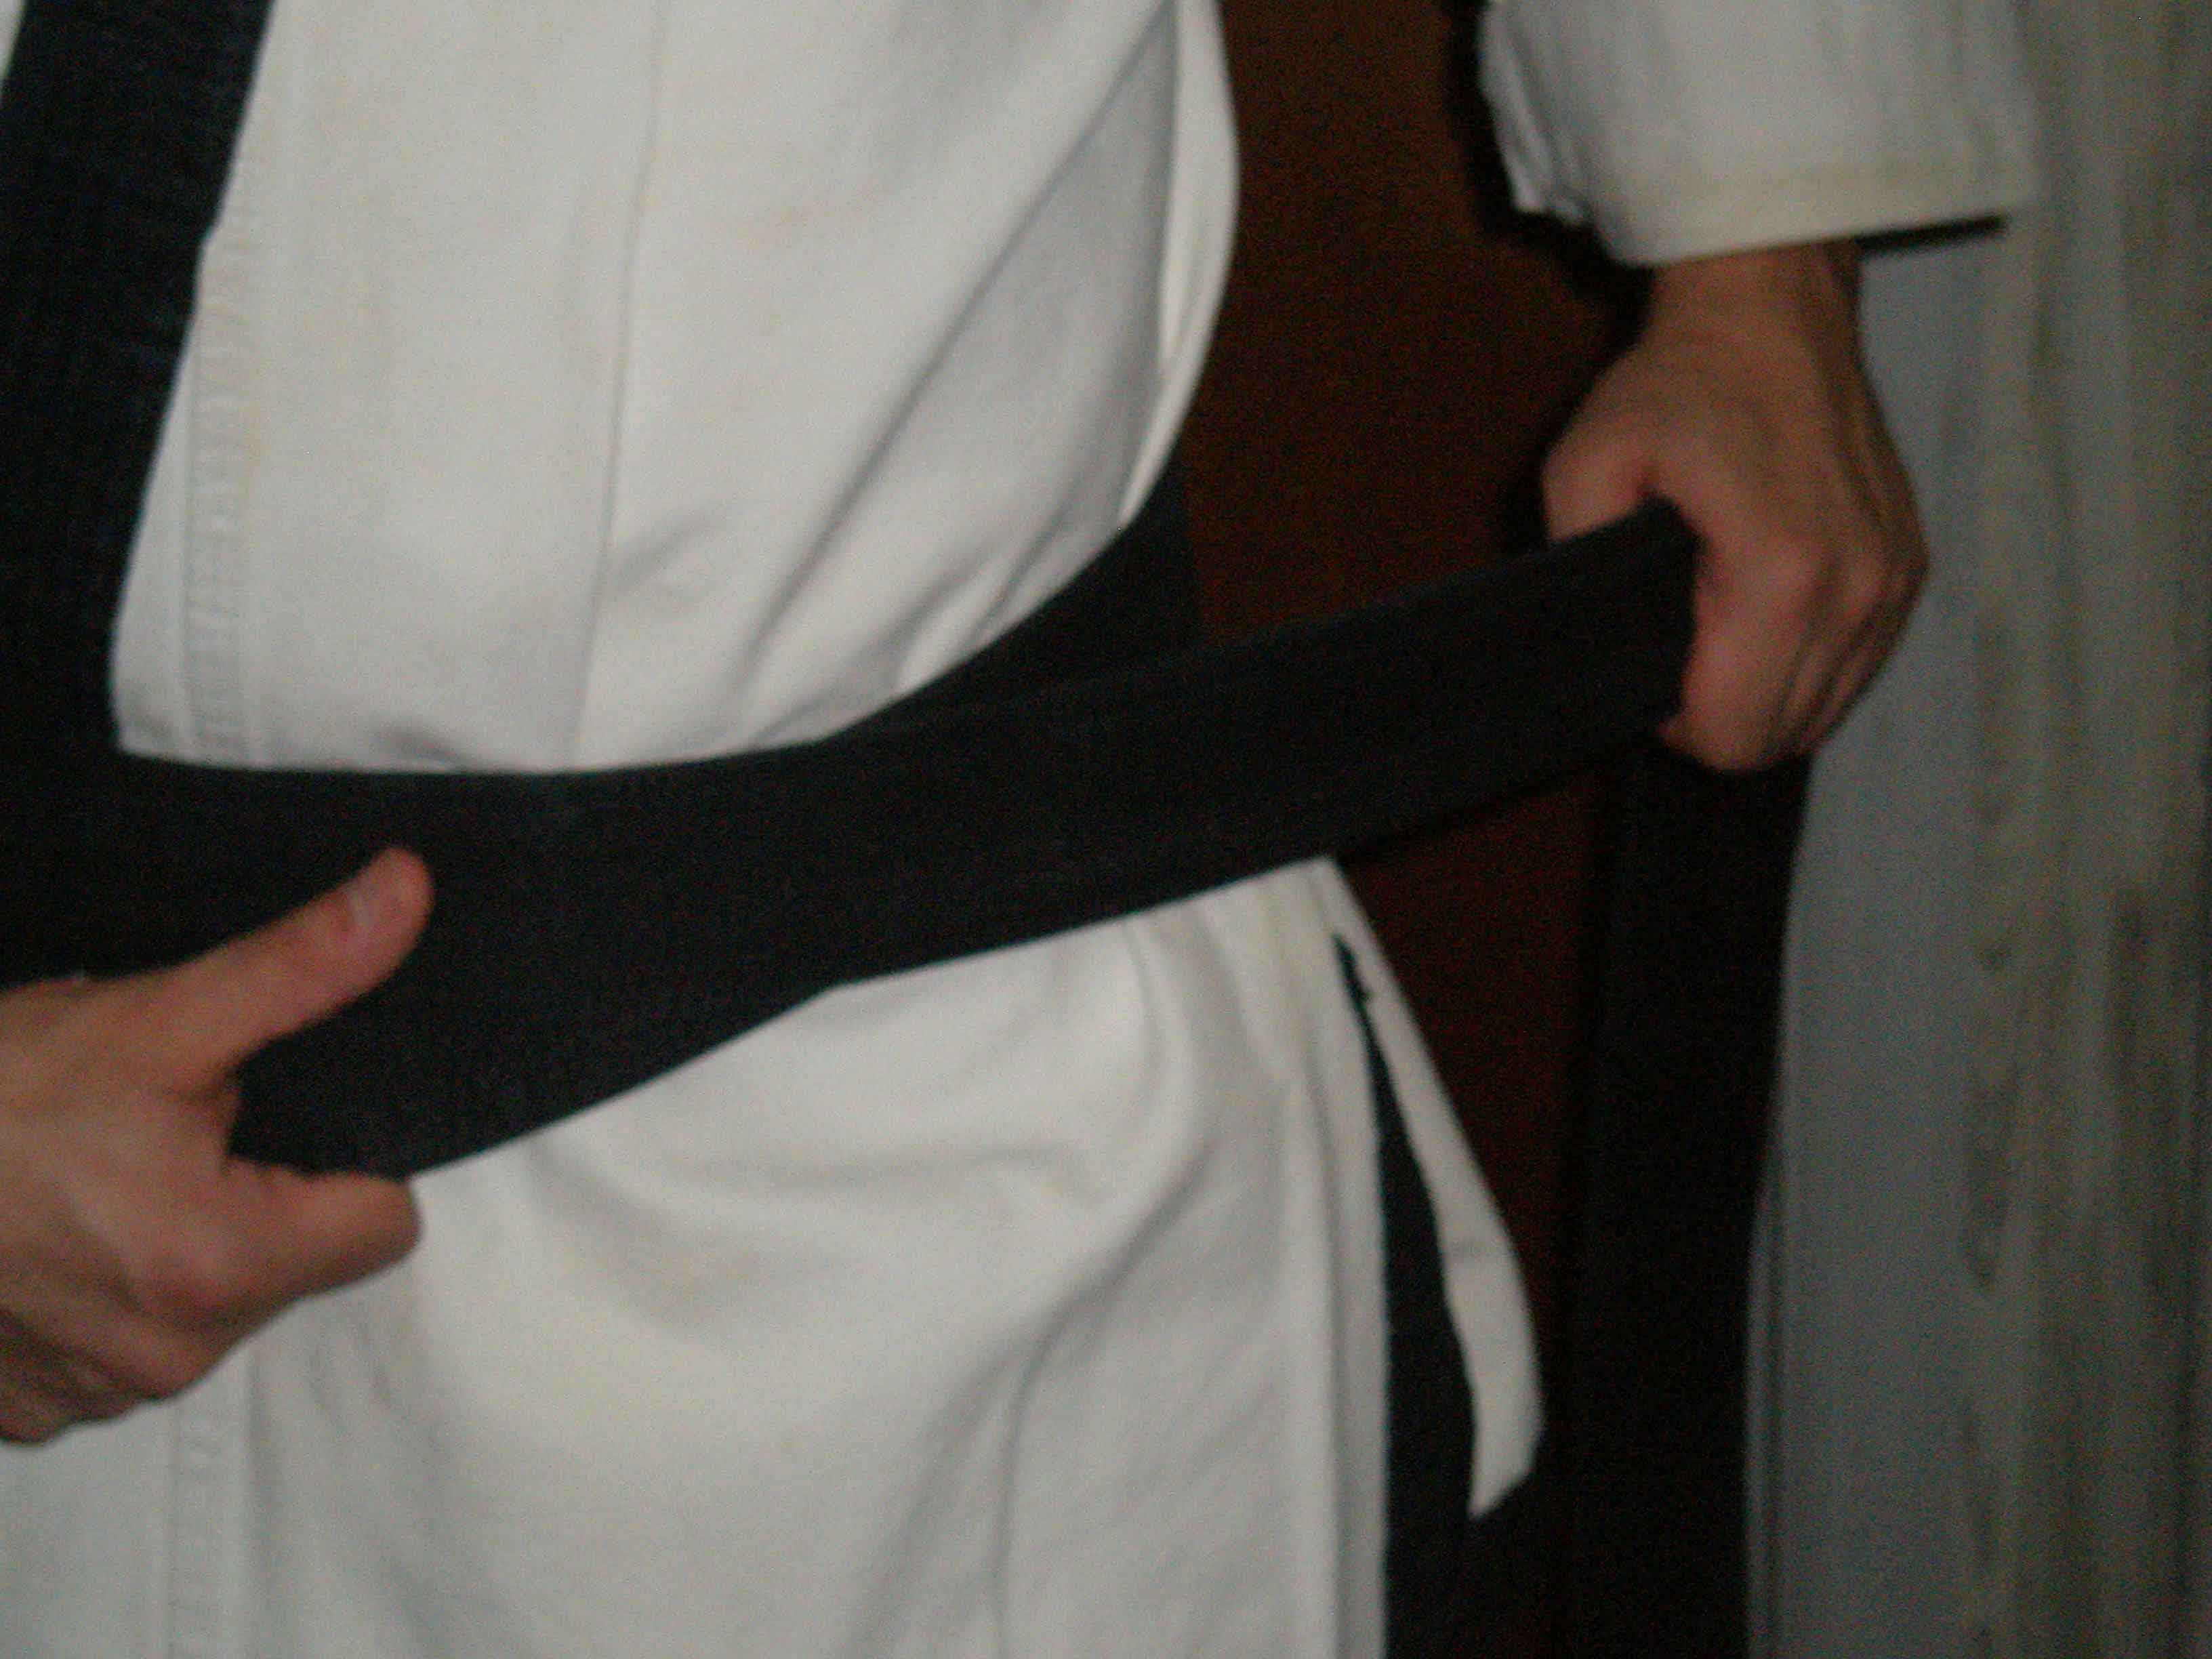
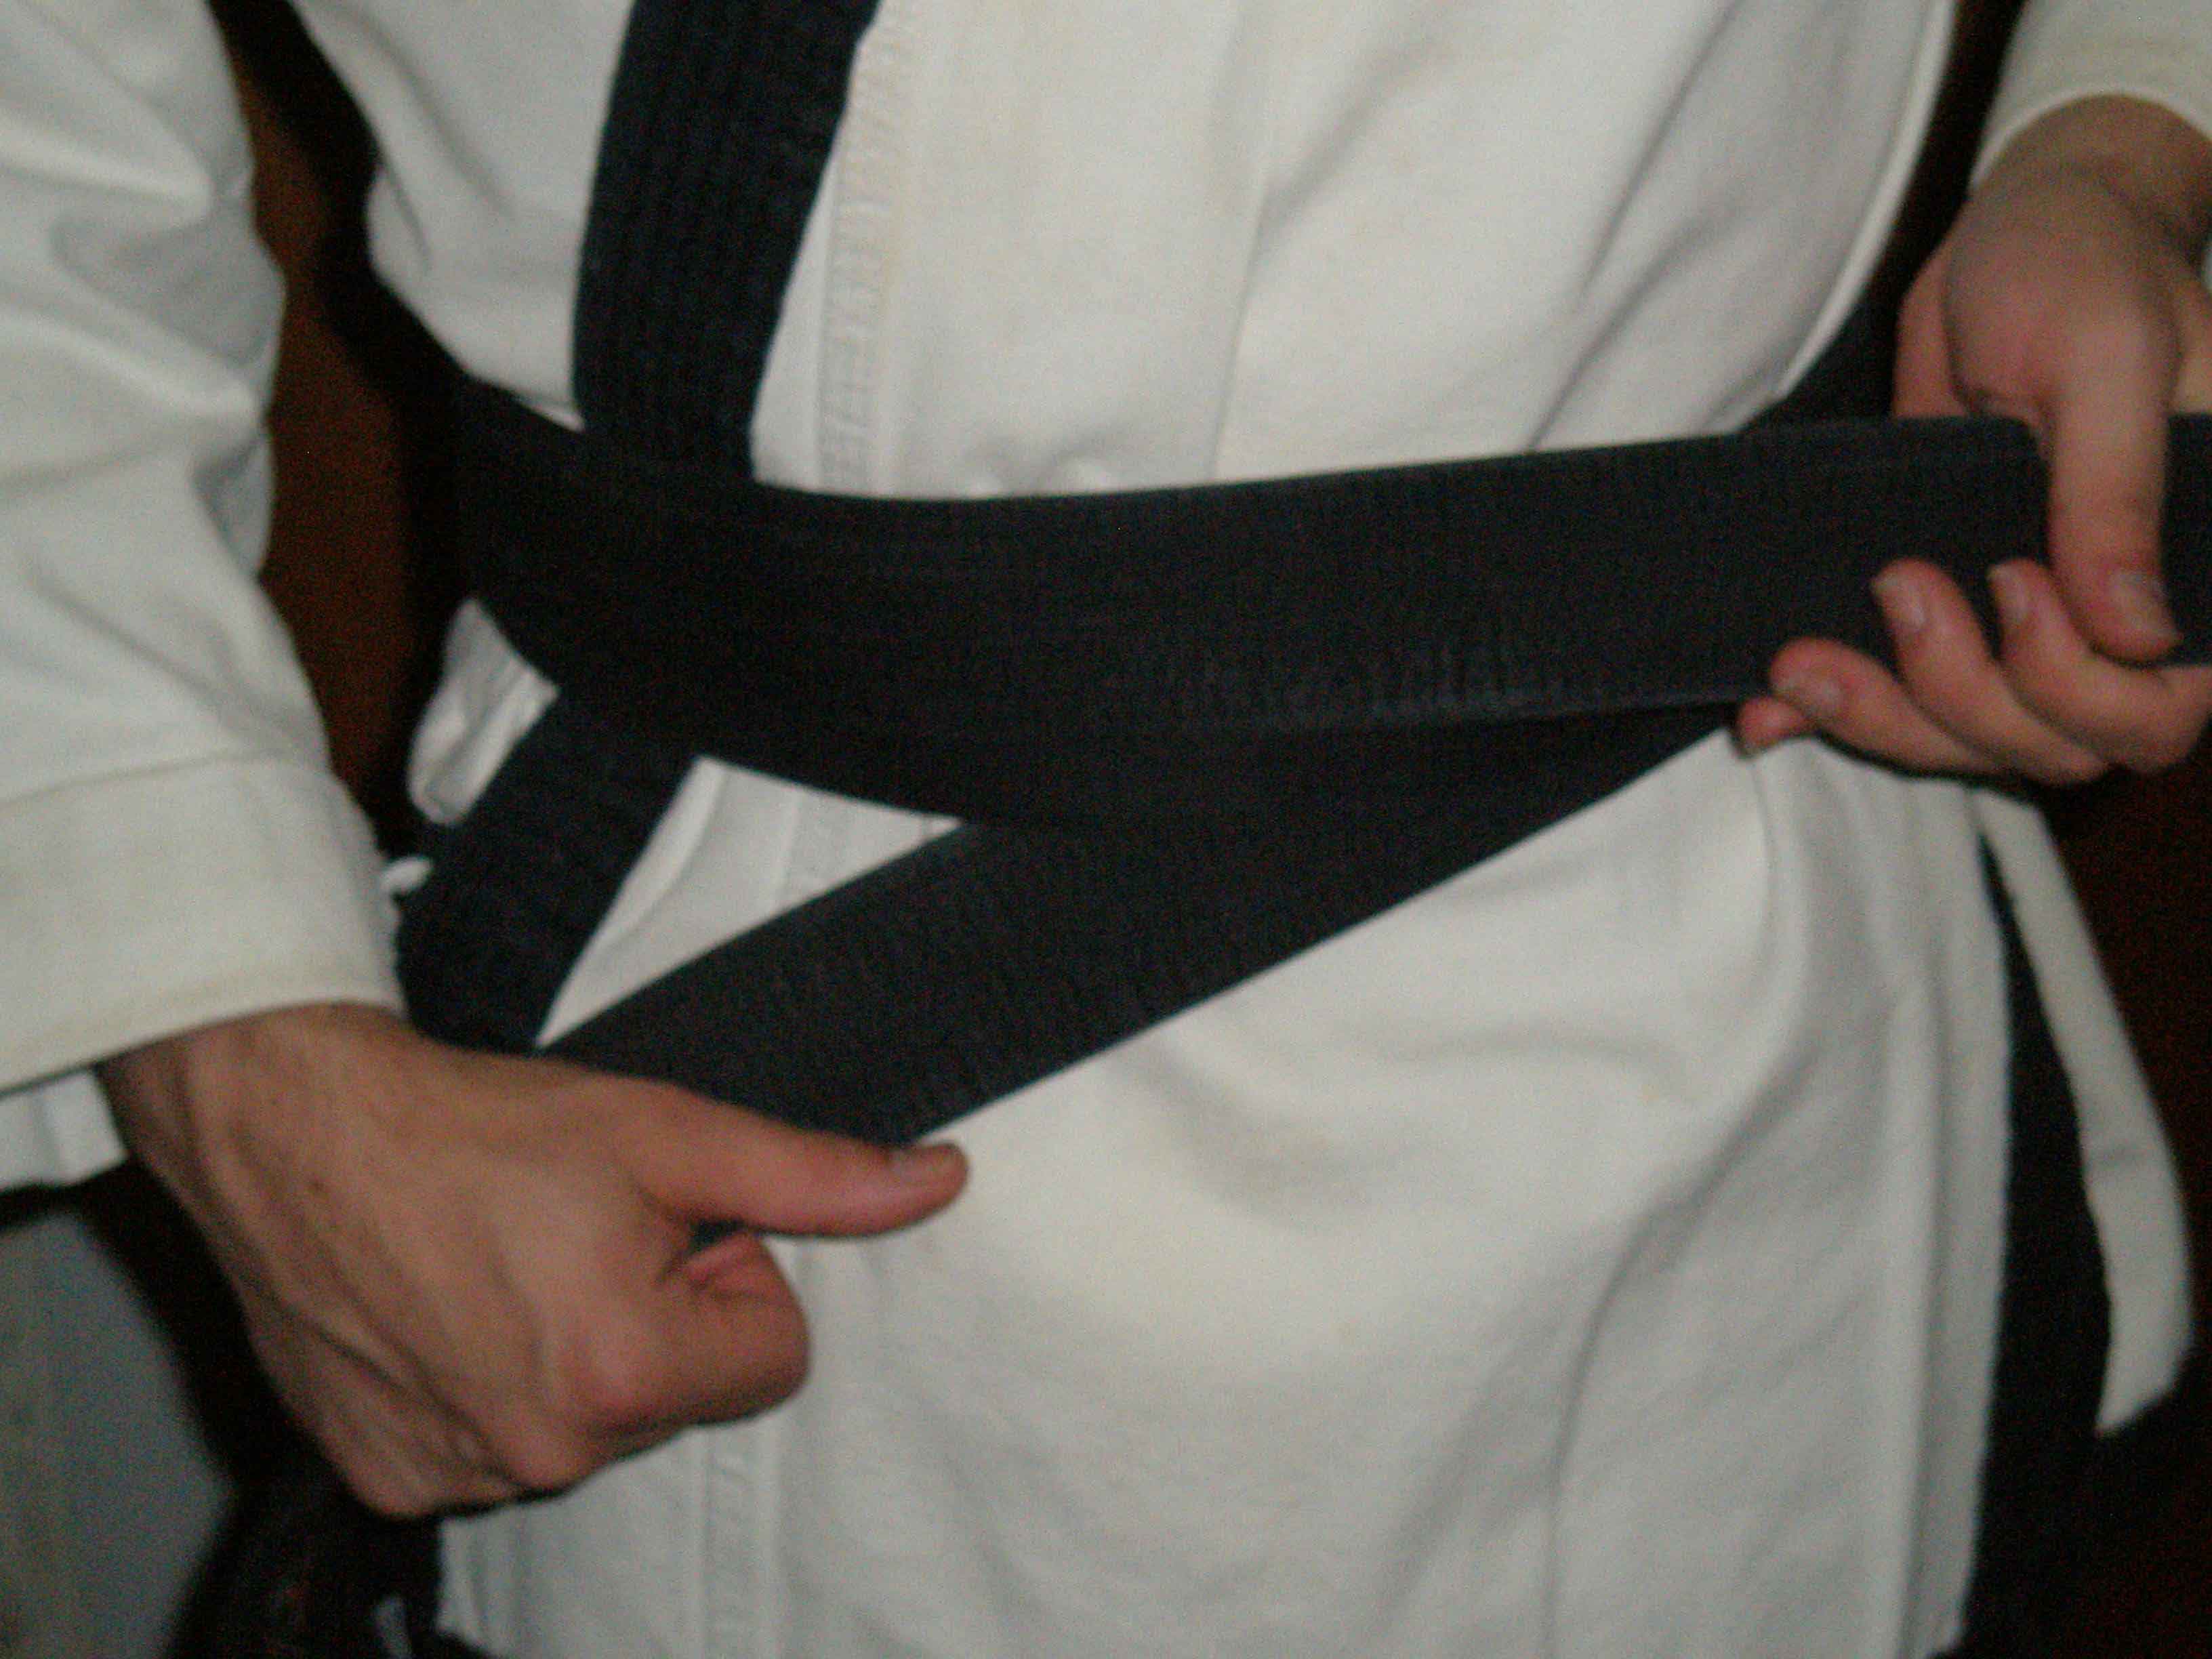
Hold the 1st tail with the embroidery side up to the left of your body line center. The amount of belt should be 2 to 3 inches longer than the completed length of the finished belt. The tail that is dangling down will be the right hand tail when completed. Wrap the remainder of the belt around your waist from your center line to the right side behind your back.
-
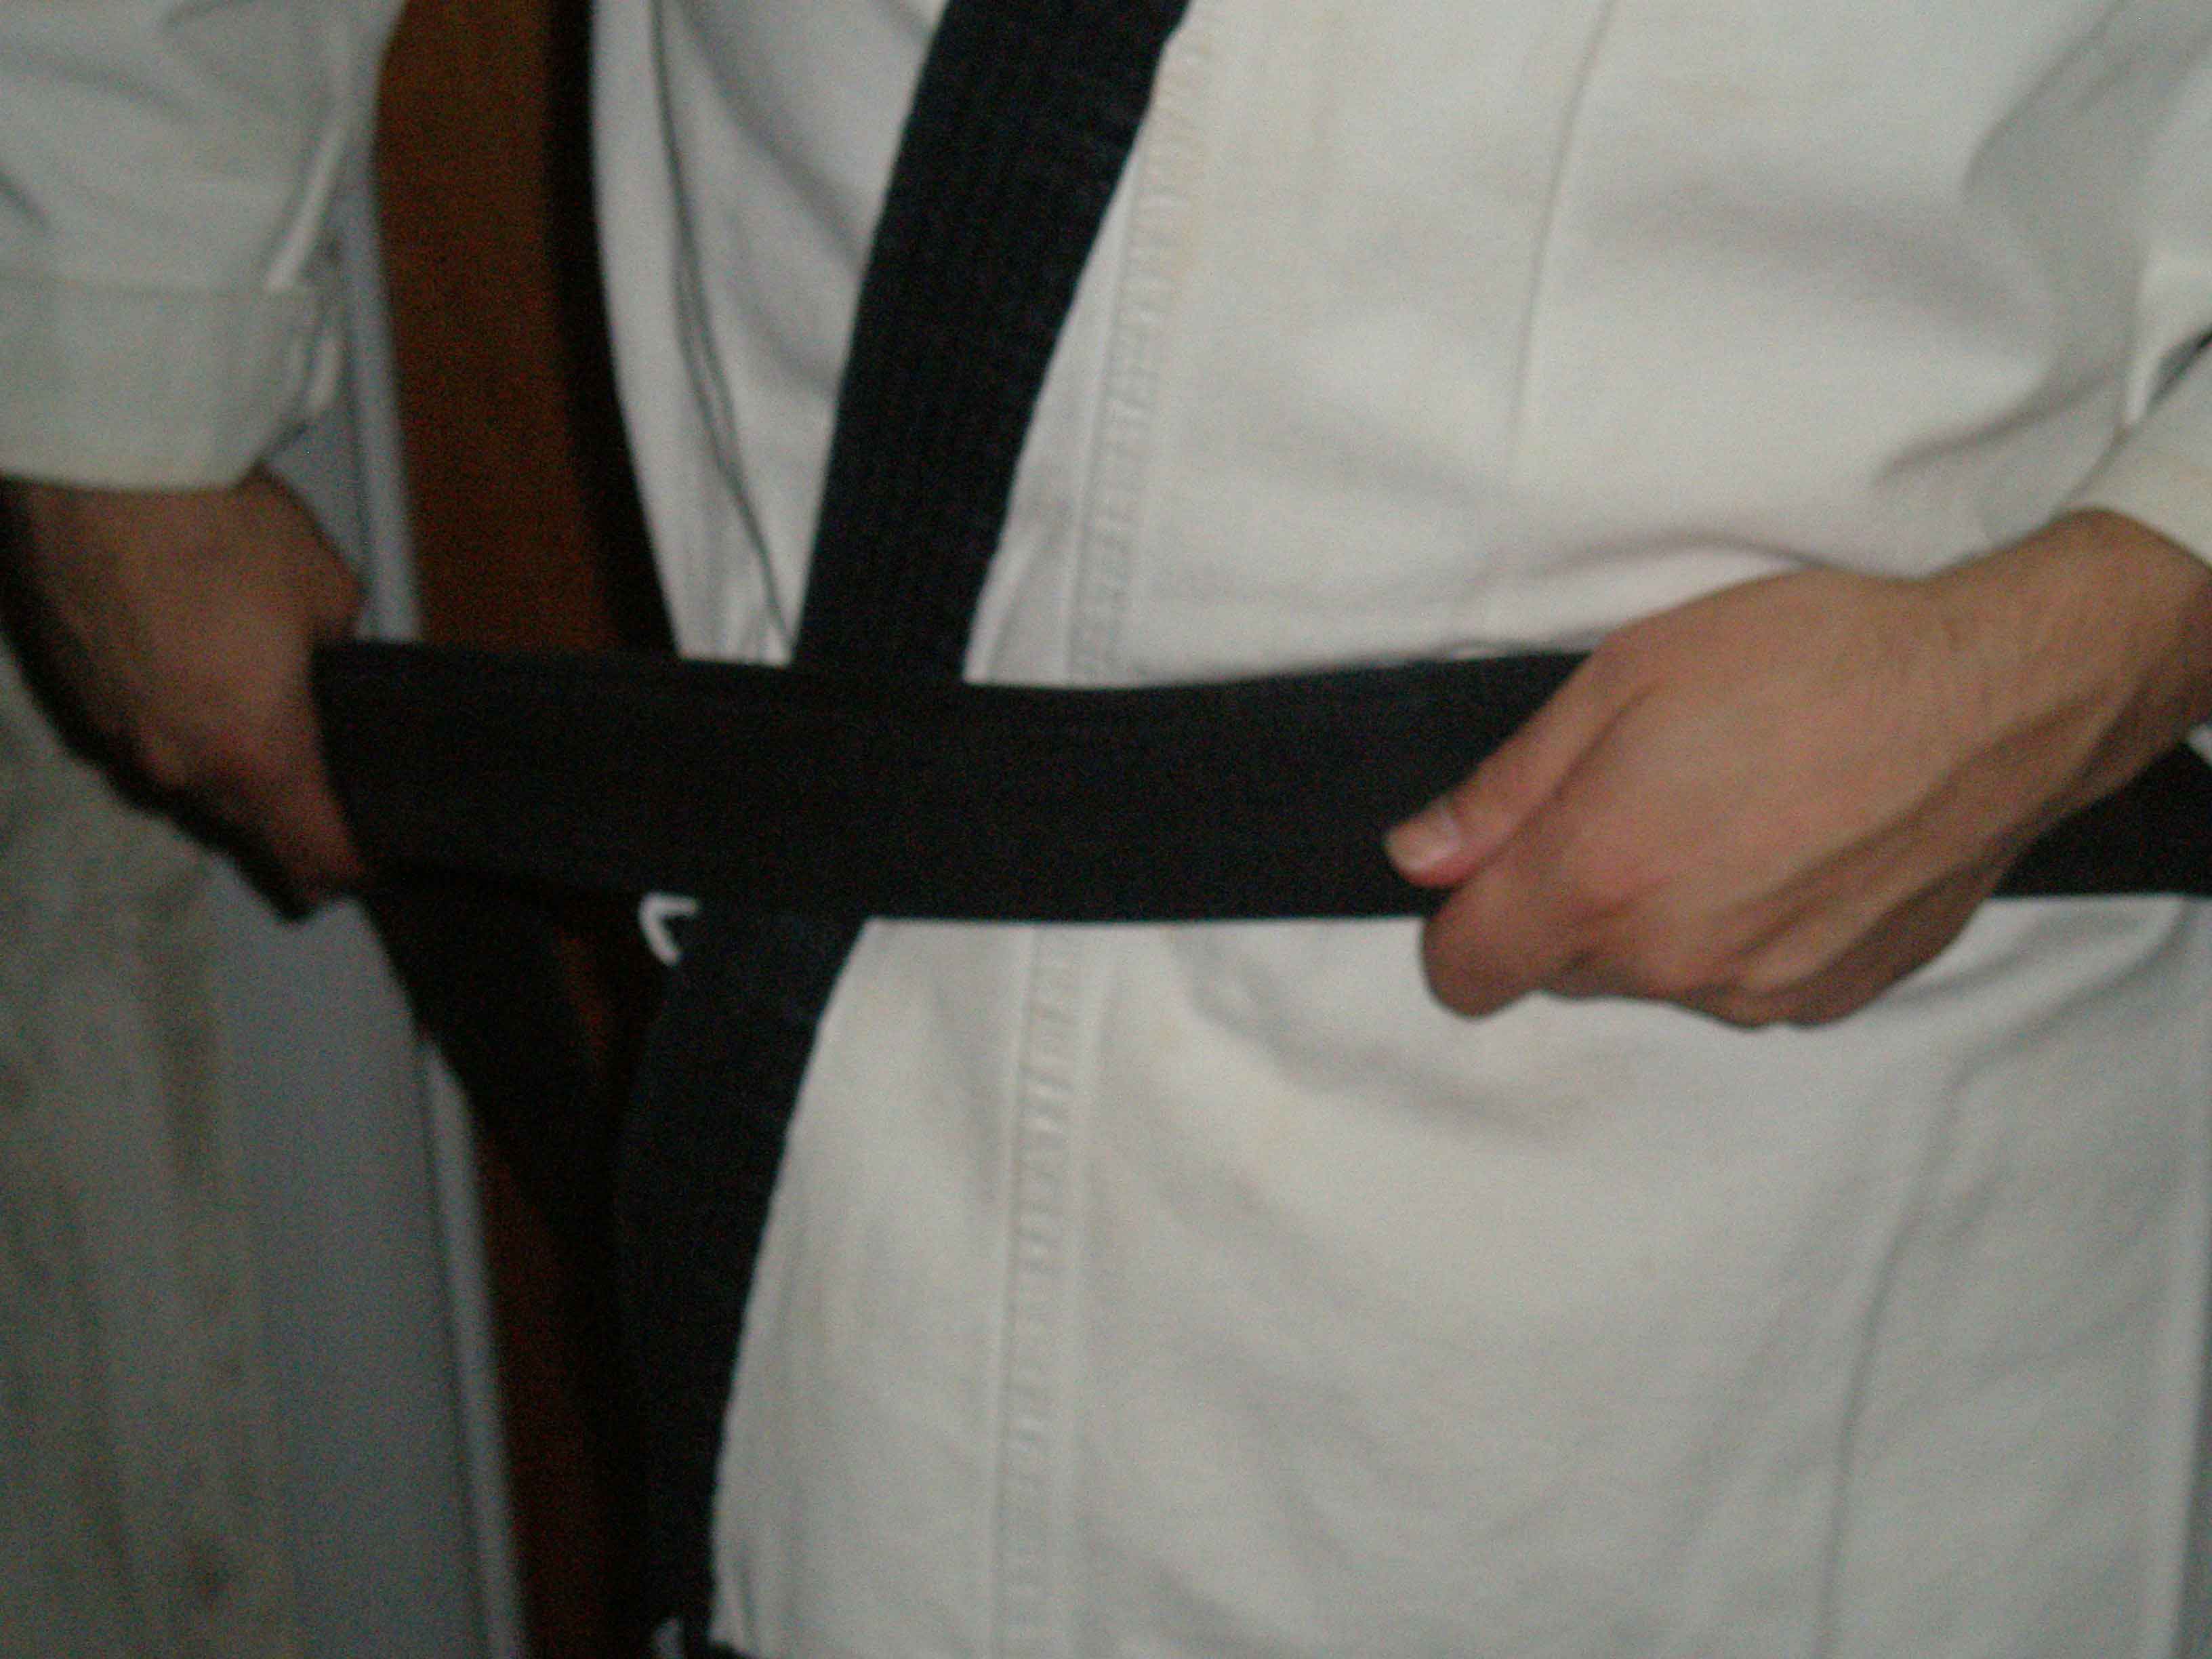
Continue wrapping the belt around your torso a second time. Be sure the belt remains flat against your back and is not twisted on the back or side of your body.
-
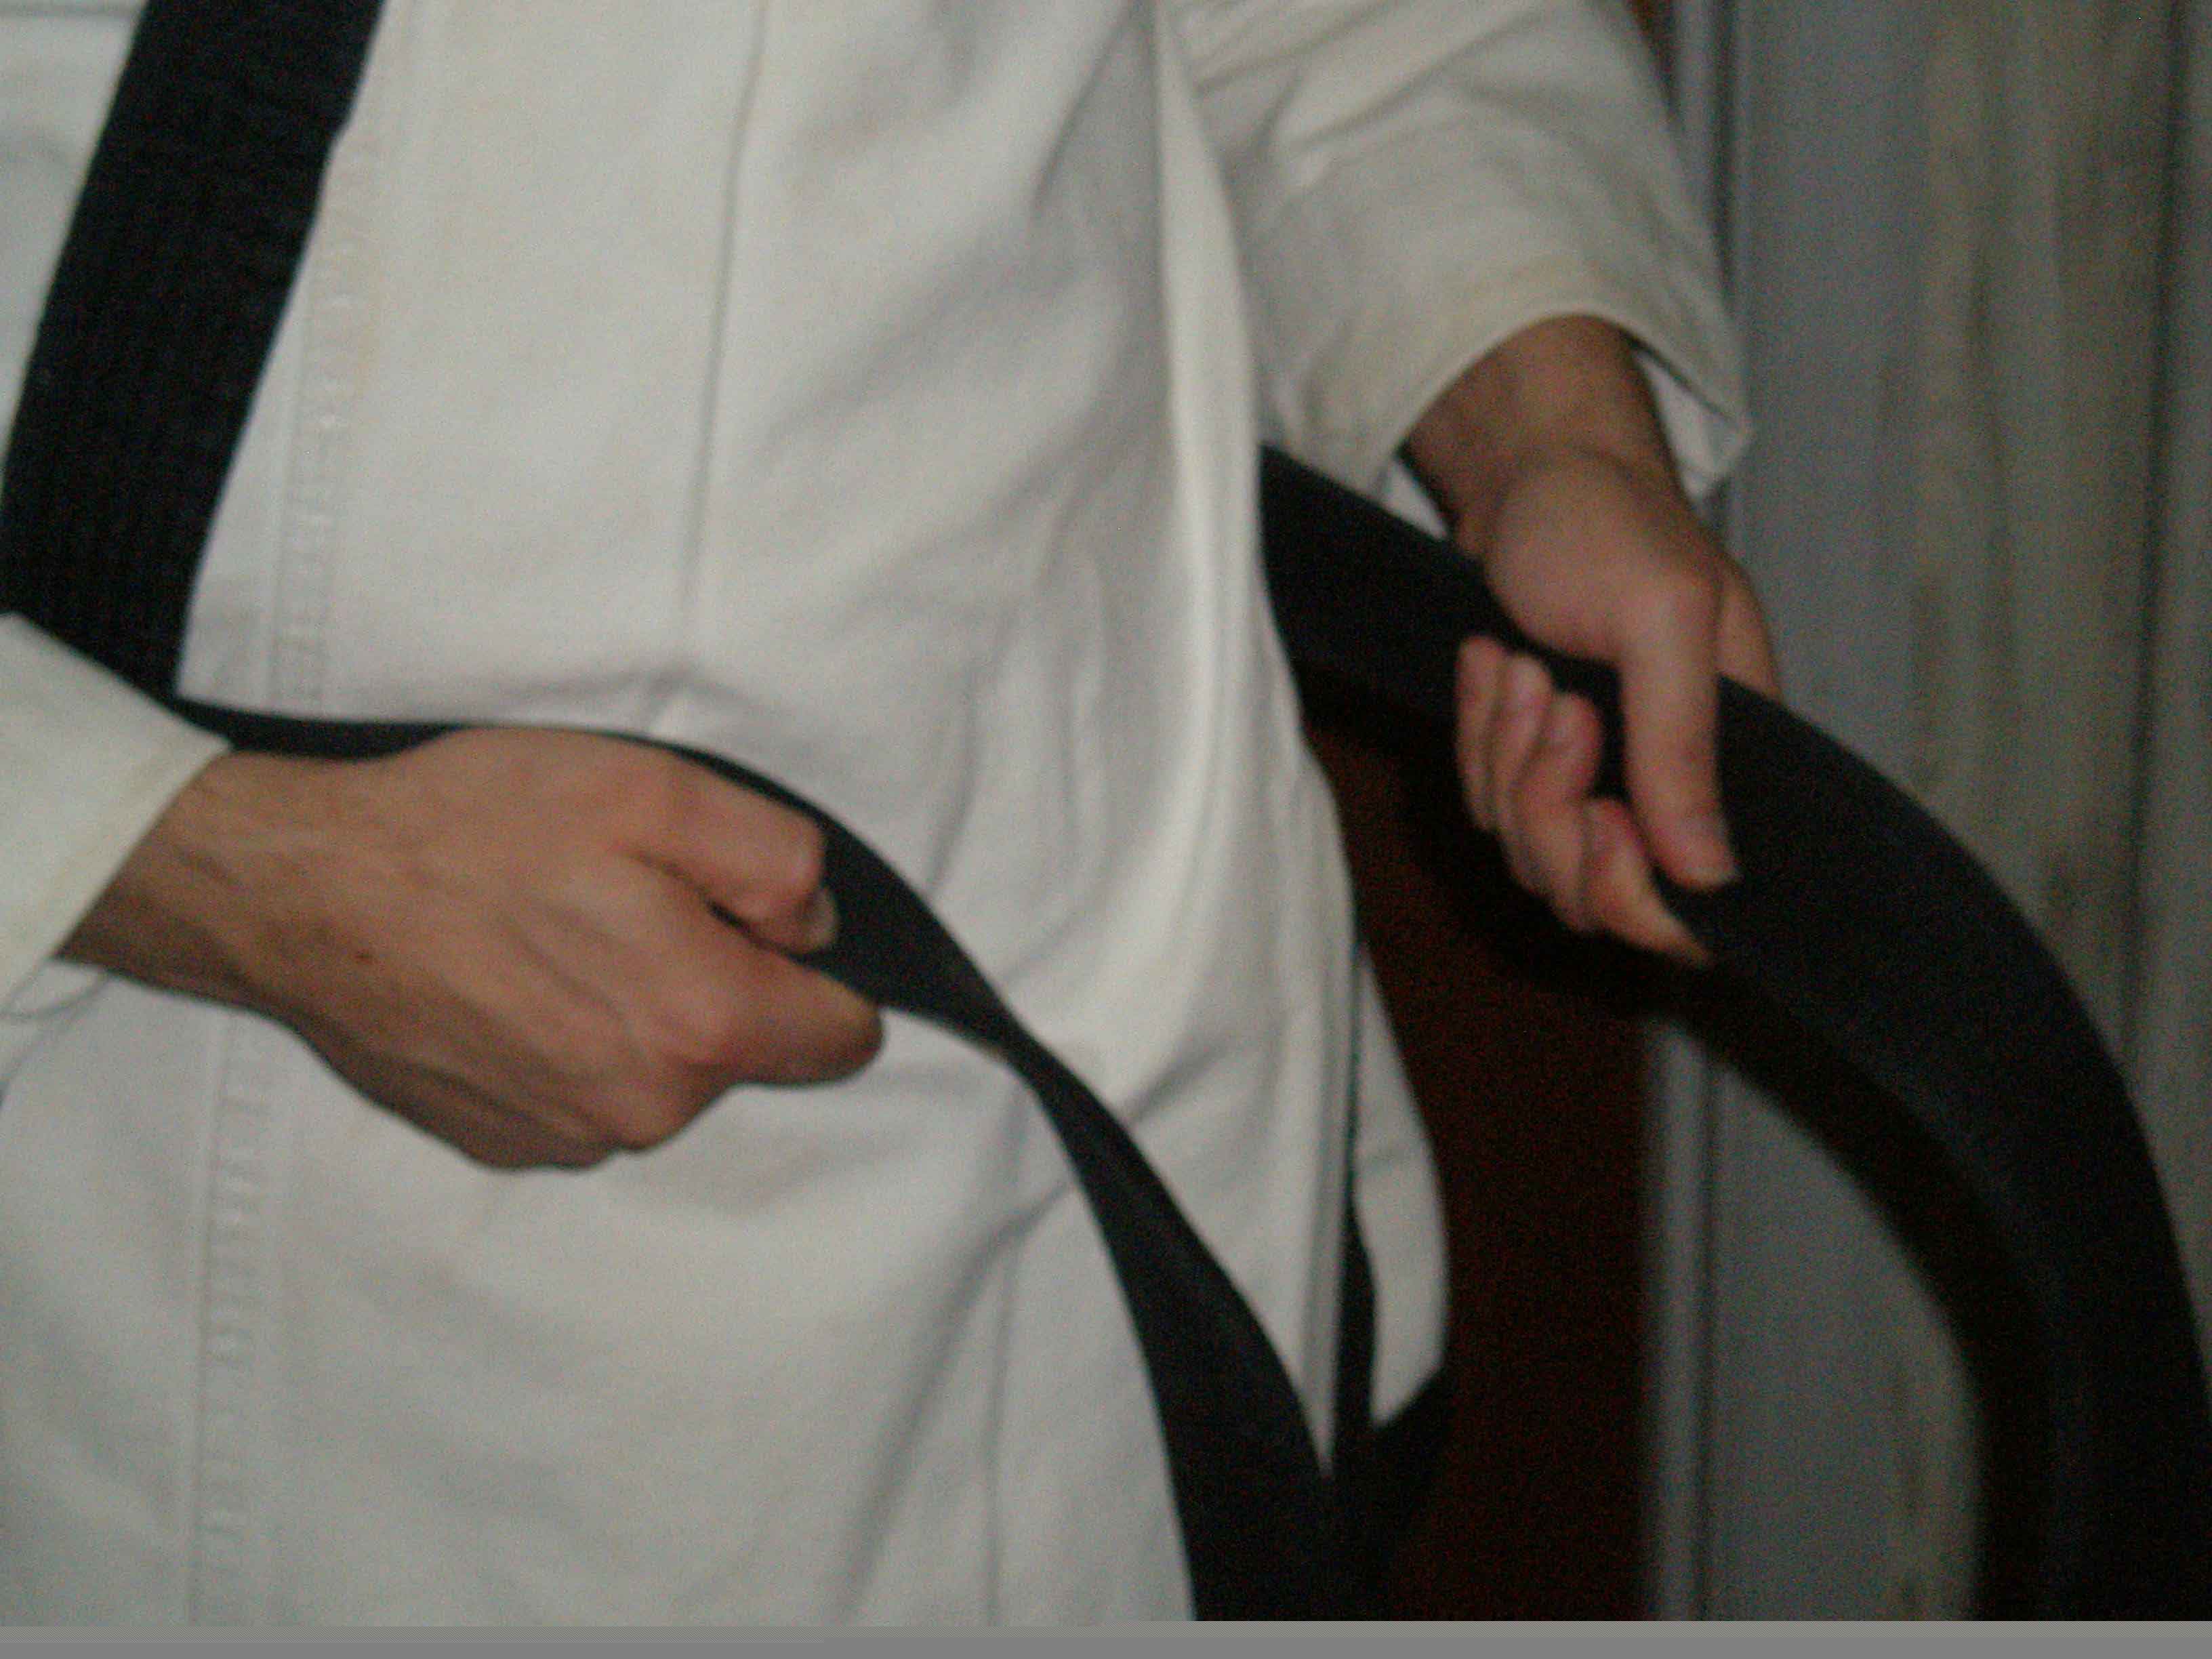
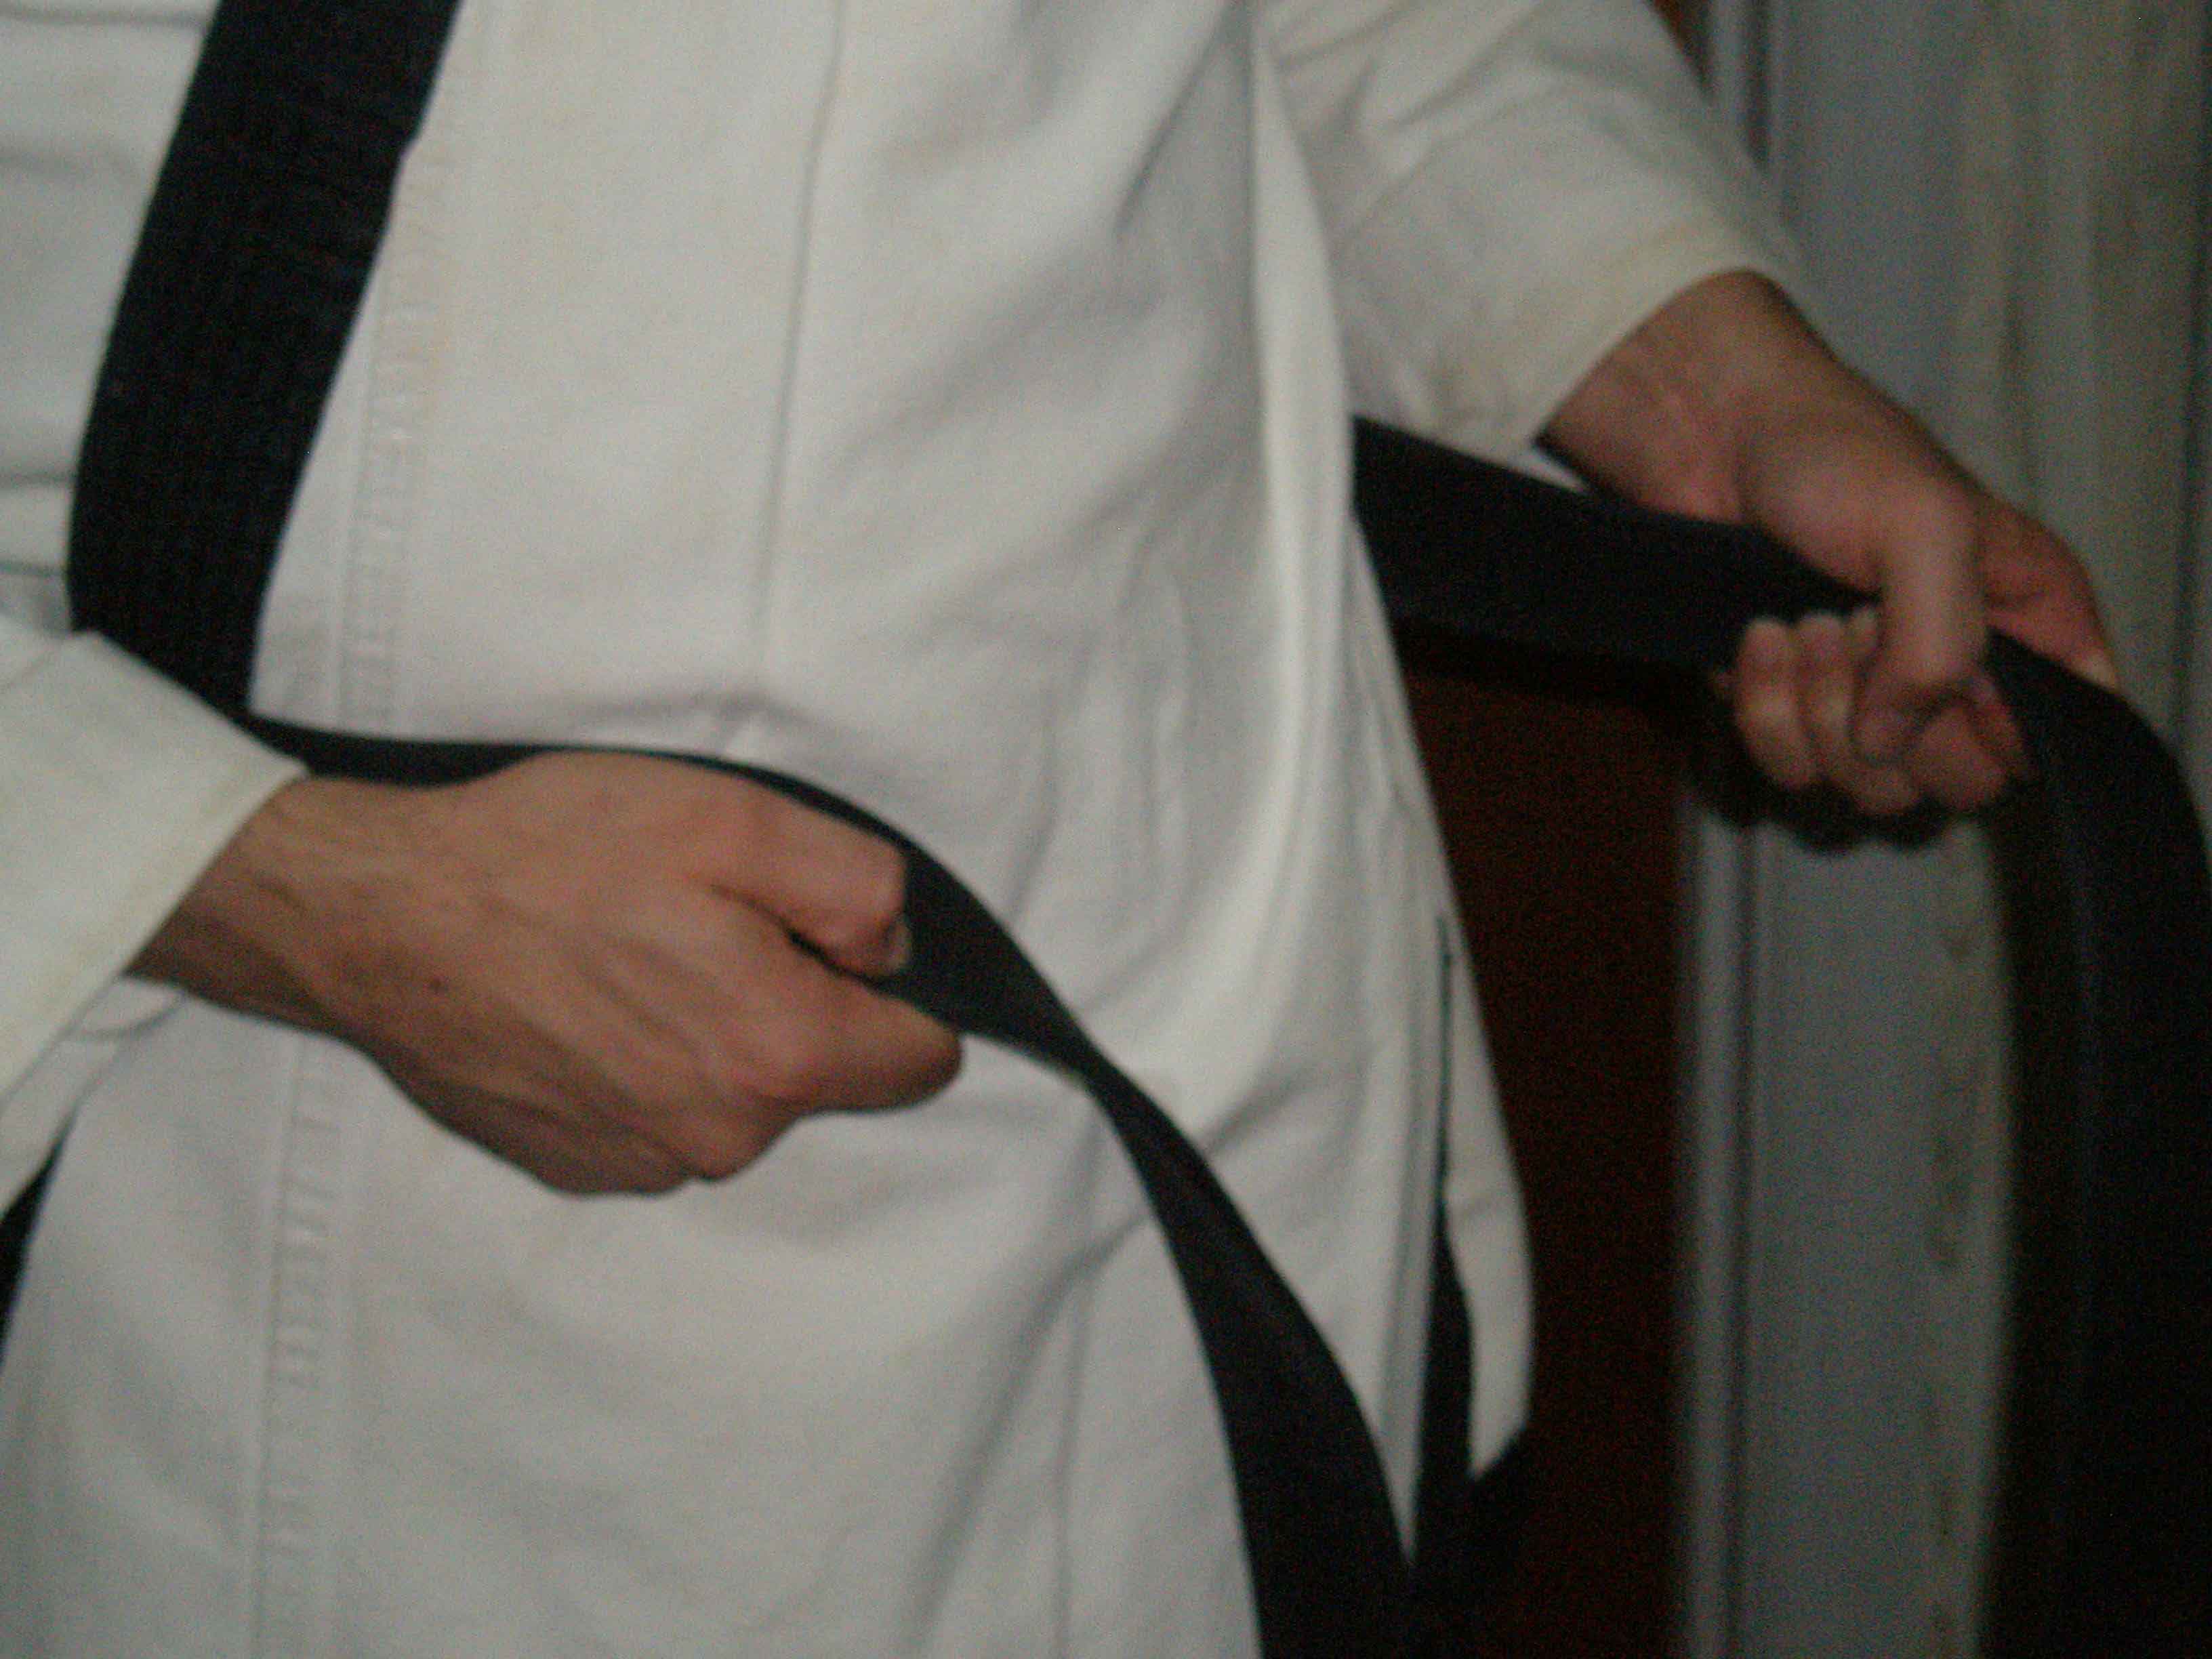
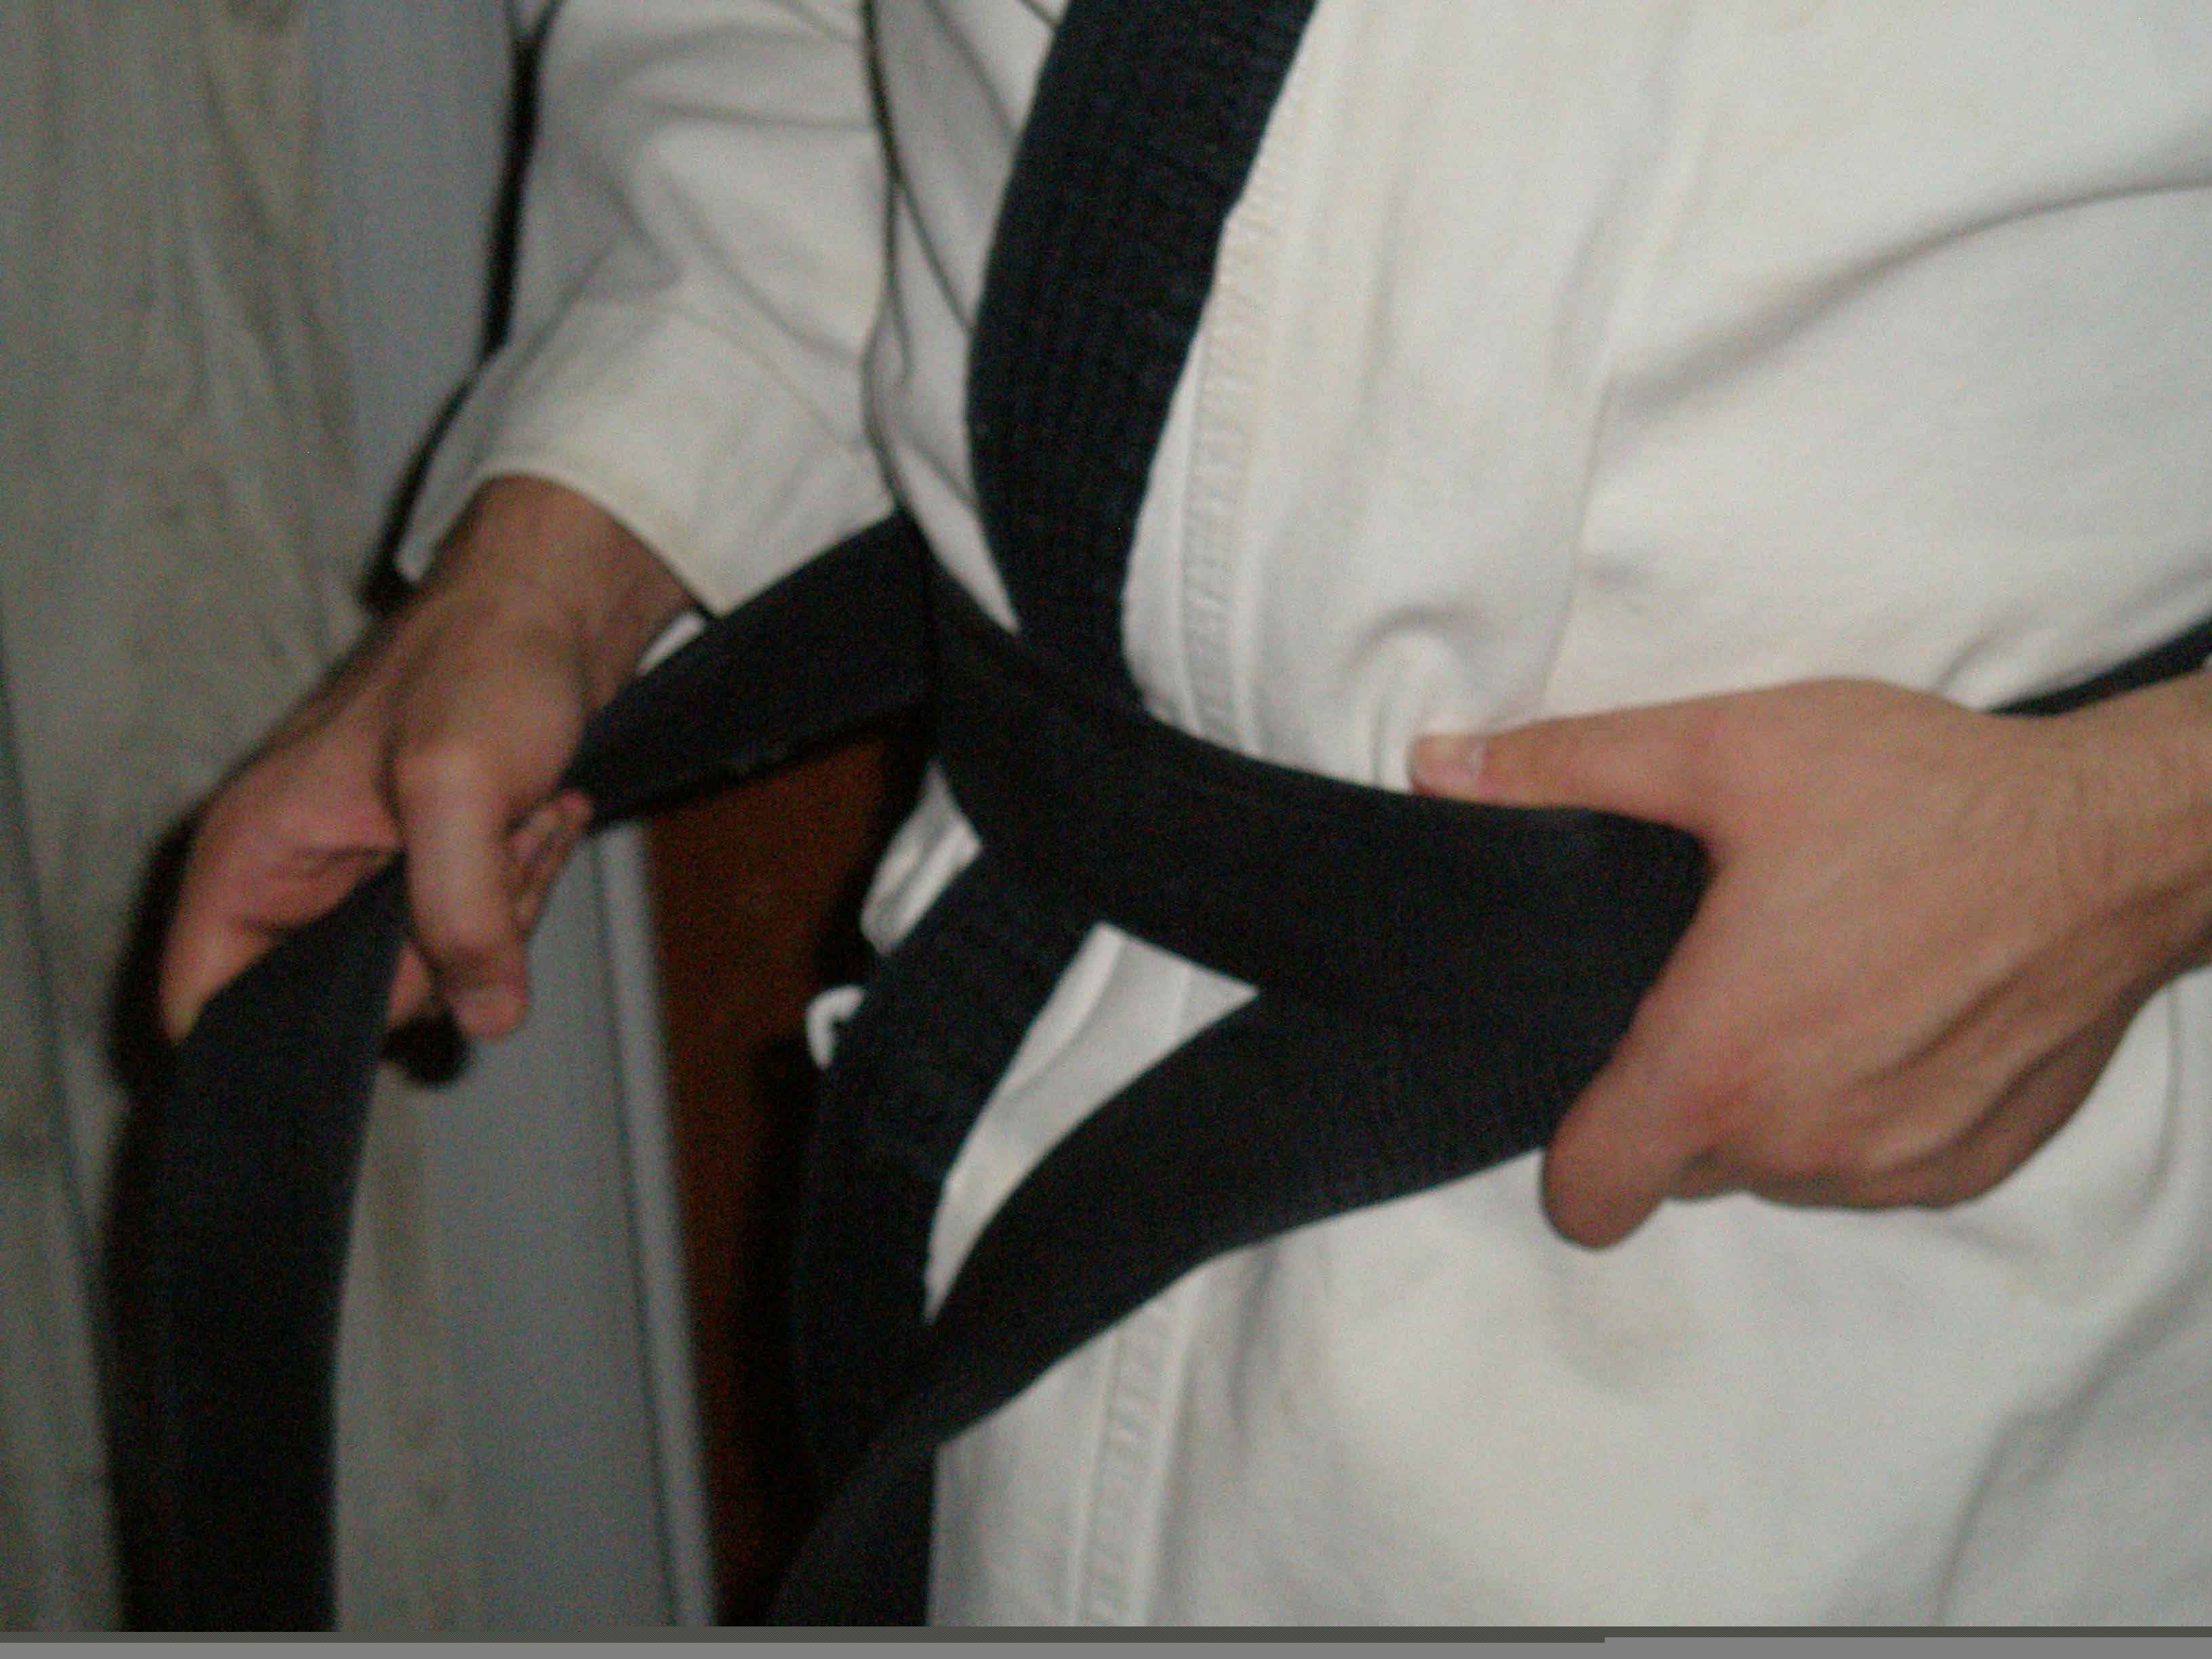
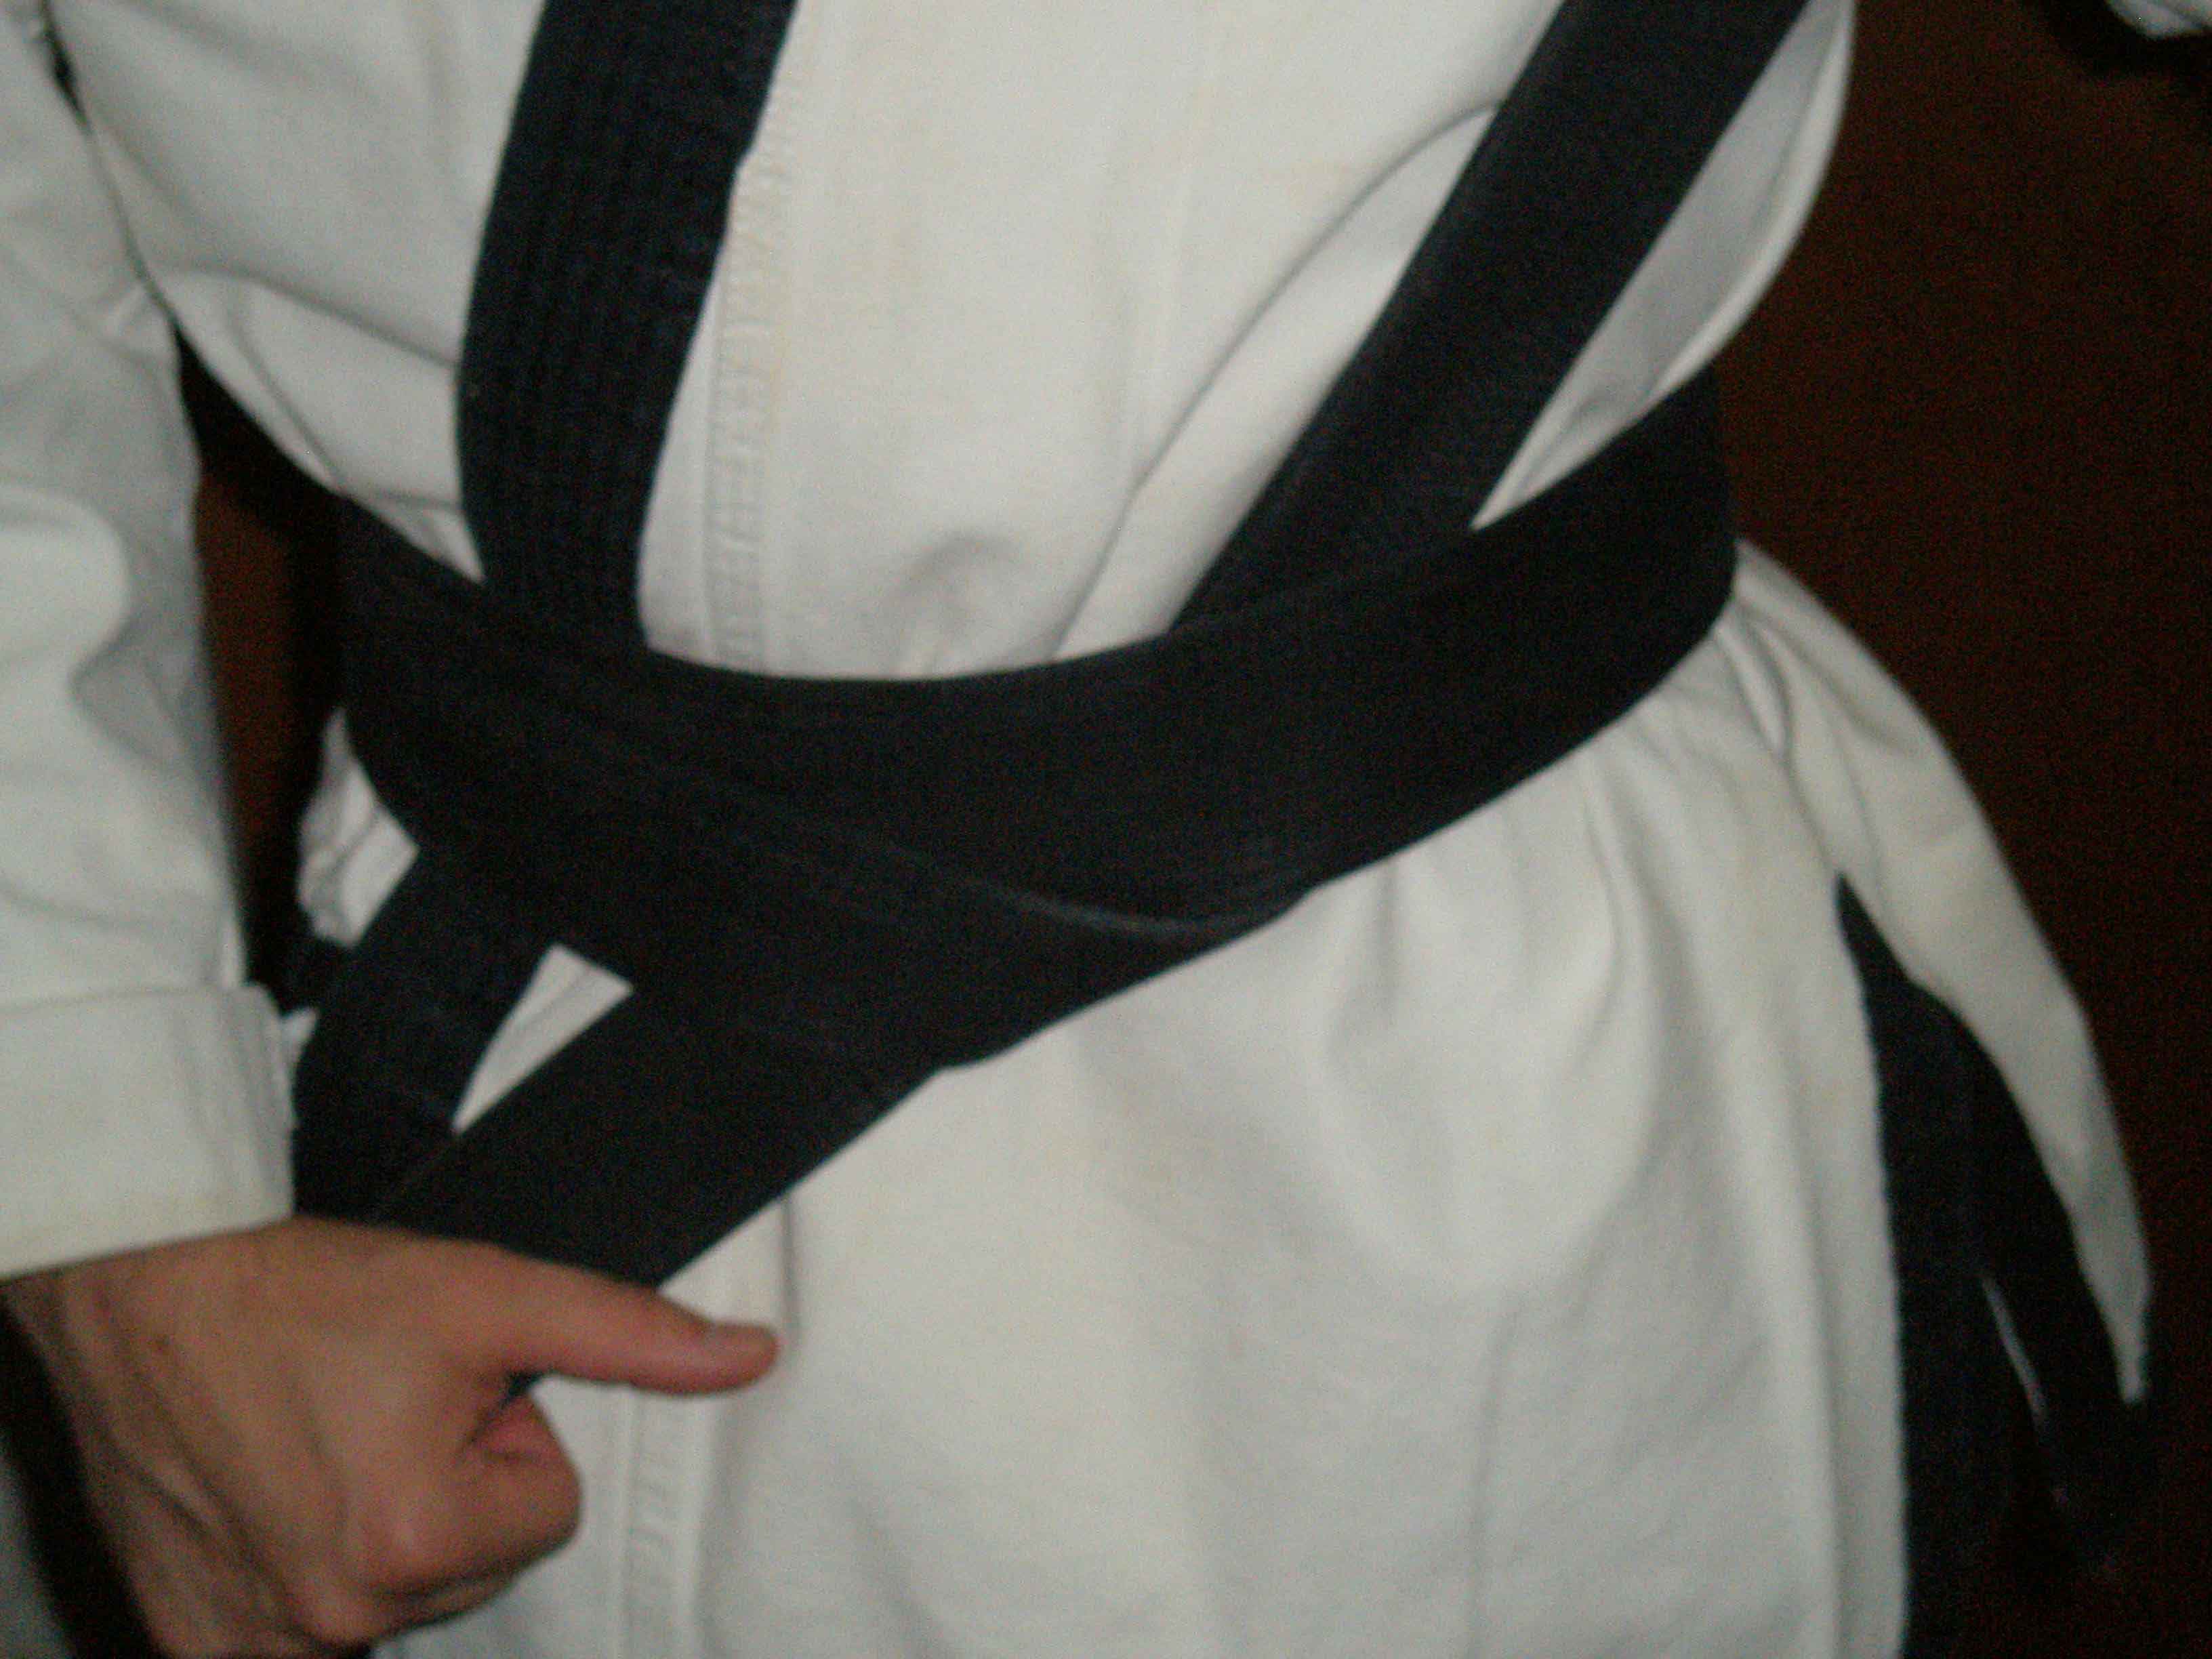
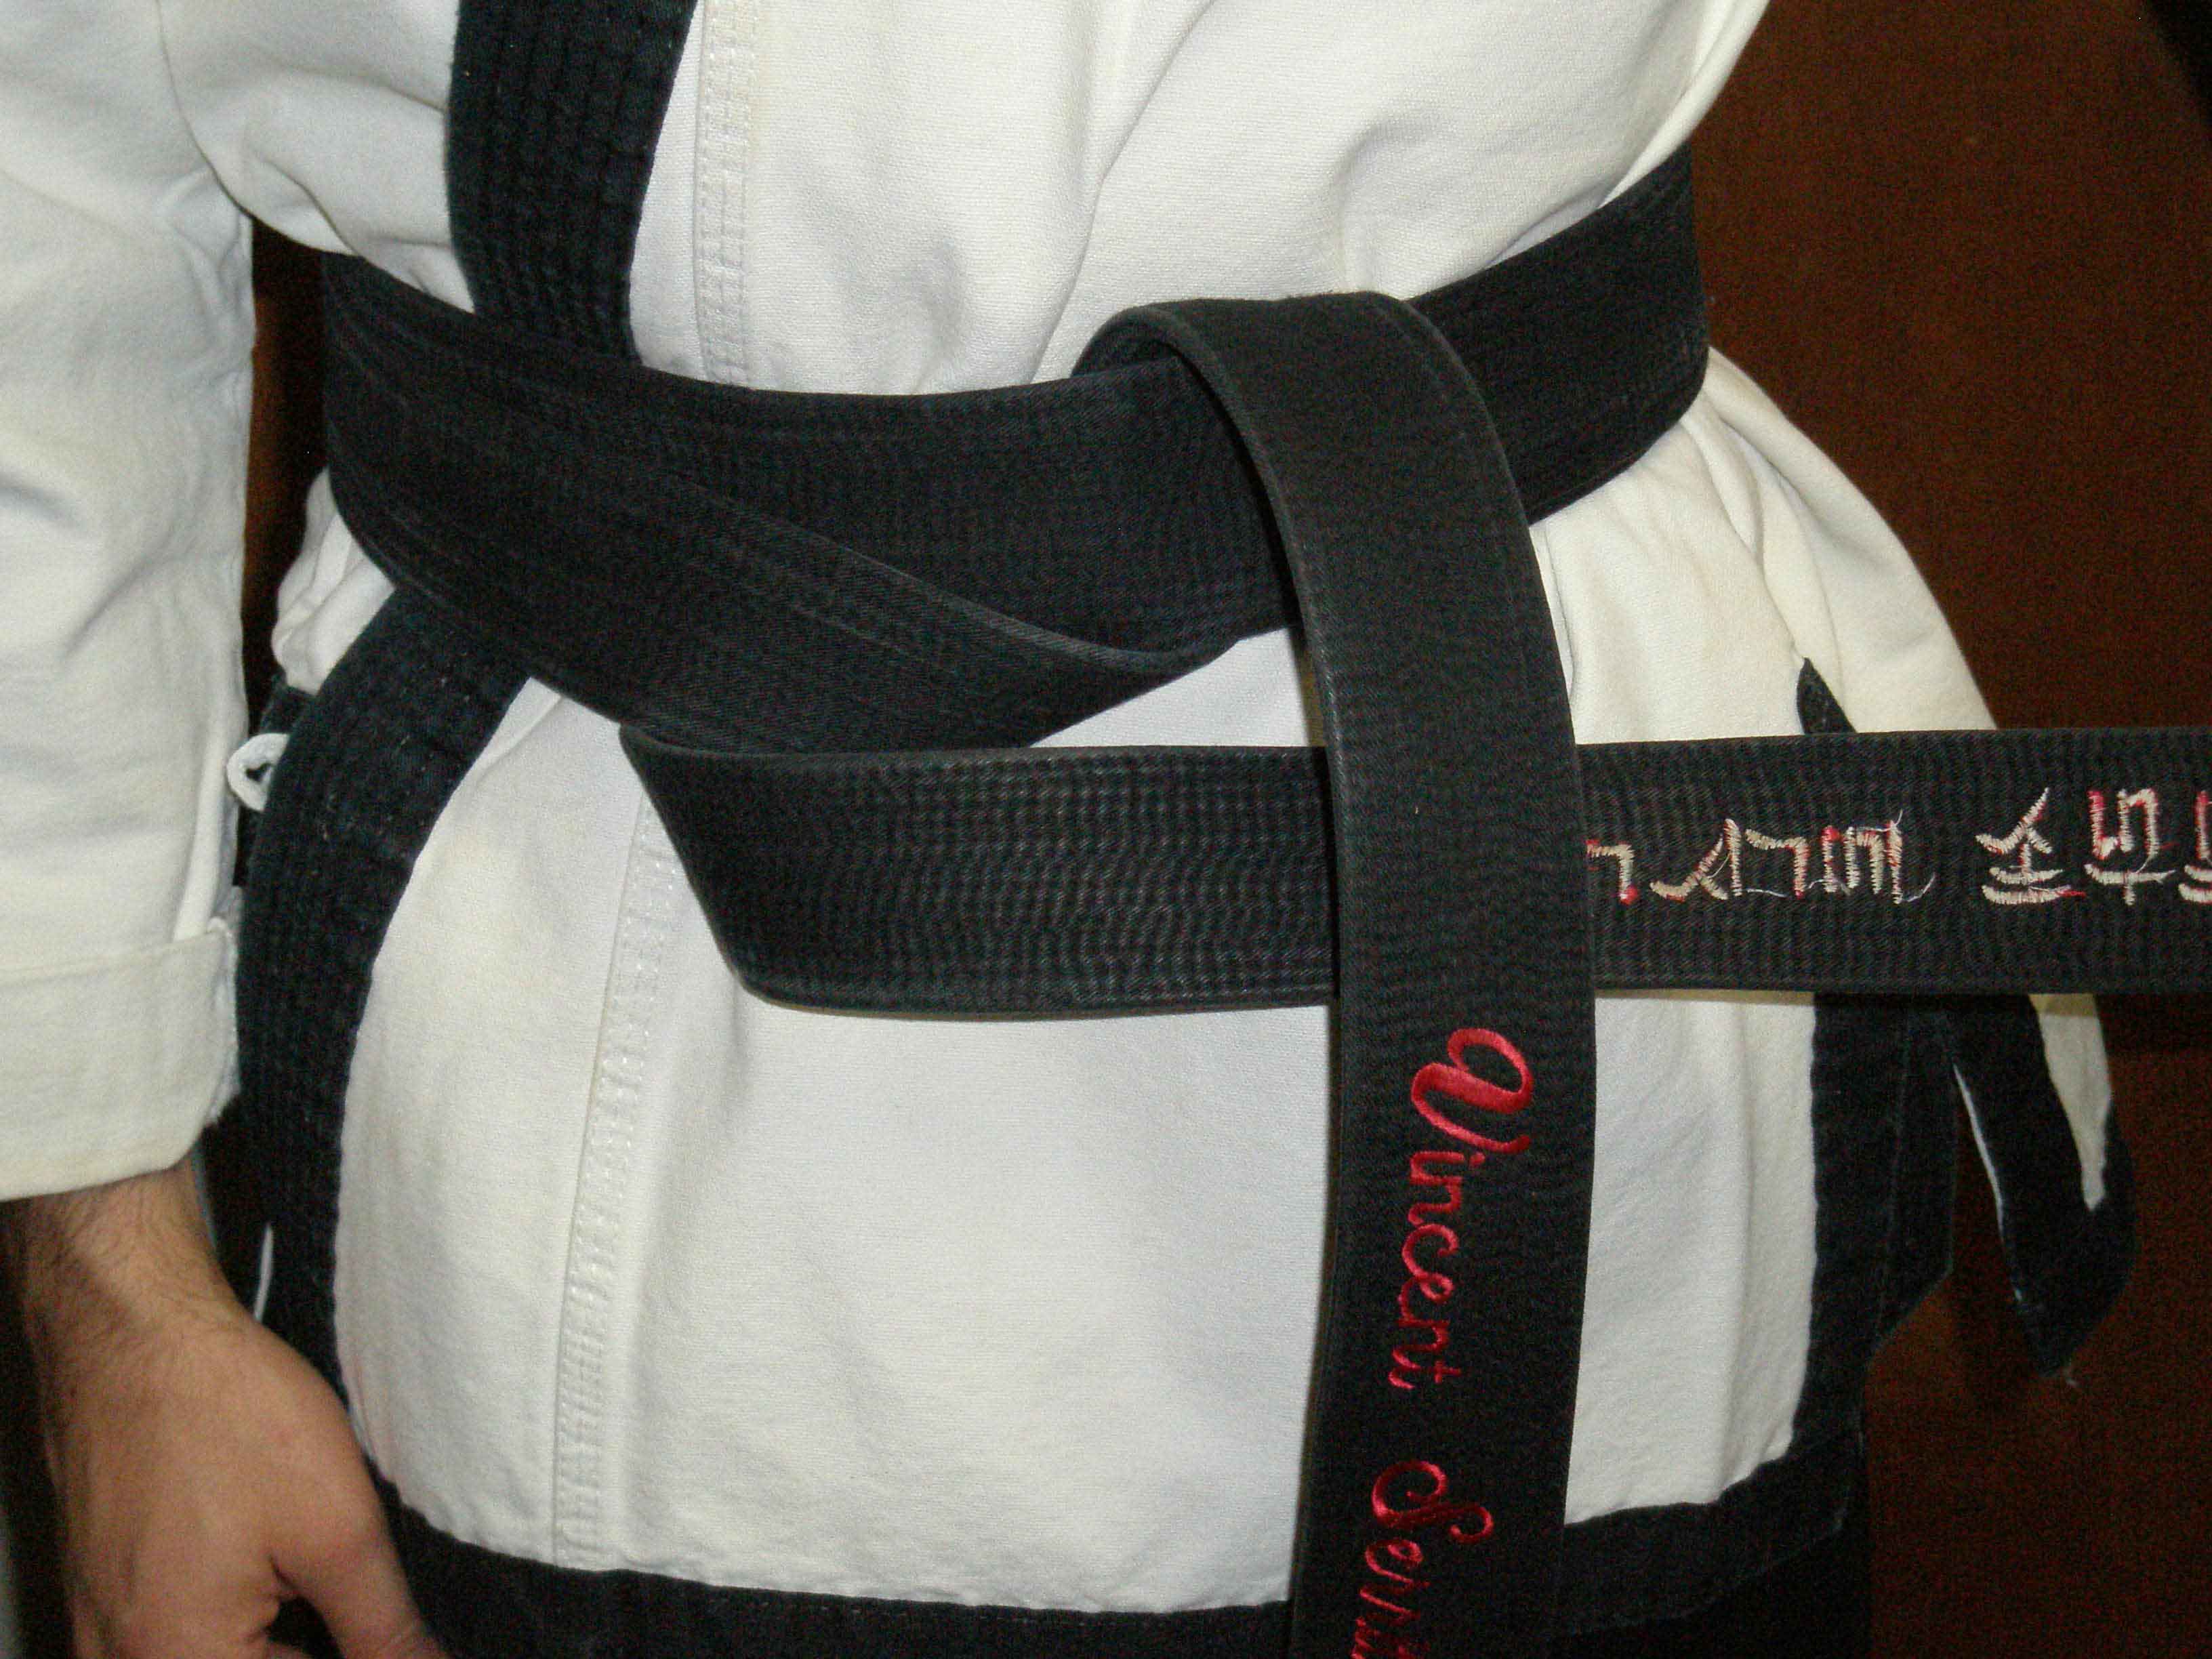
When you completed the second wrap, go past the original dangling tail and insert the open tail under the two wrapped sections of belt layers. This will be the left tail – now pull up on this tail and down on the lower tail. This action will tighten the first part of the knot.
-
Lay the left tail (the one pointed up), over the belt and have the embroidered end facing up. This should be very close to the original tail that has the embroidery facing up.
-
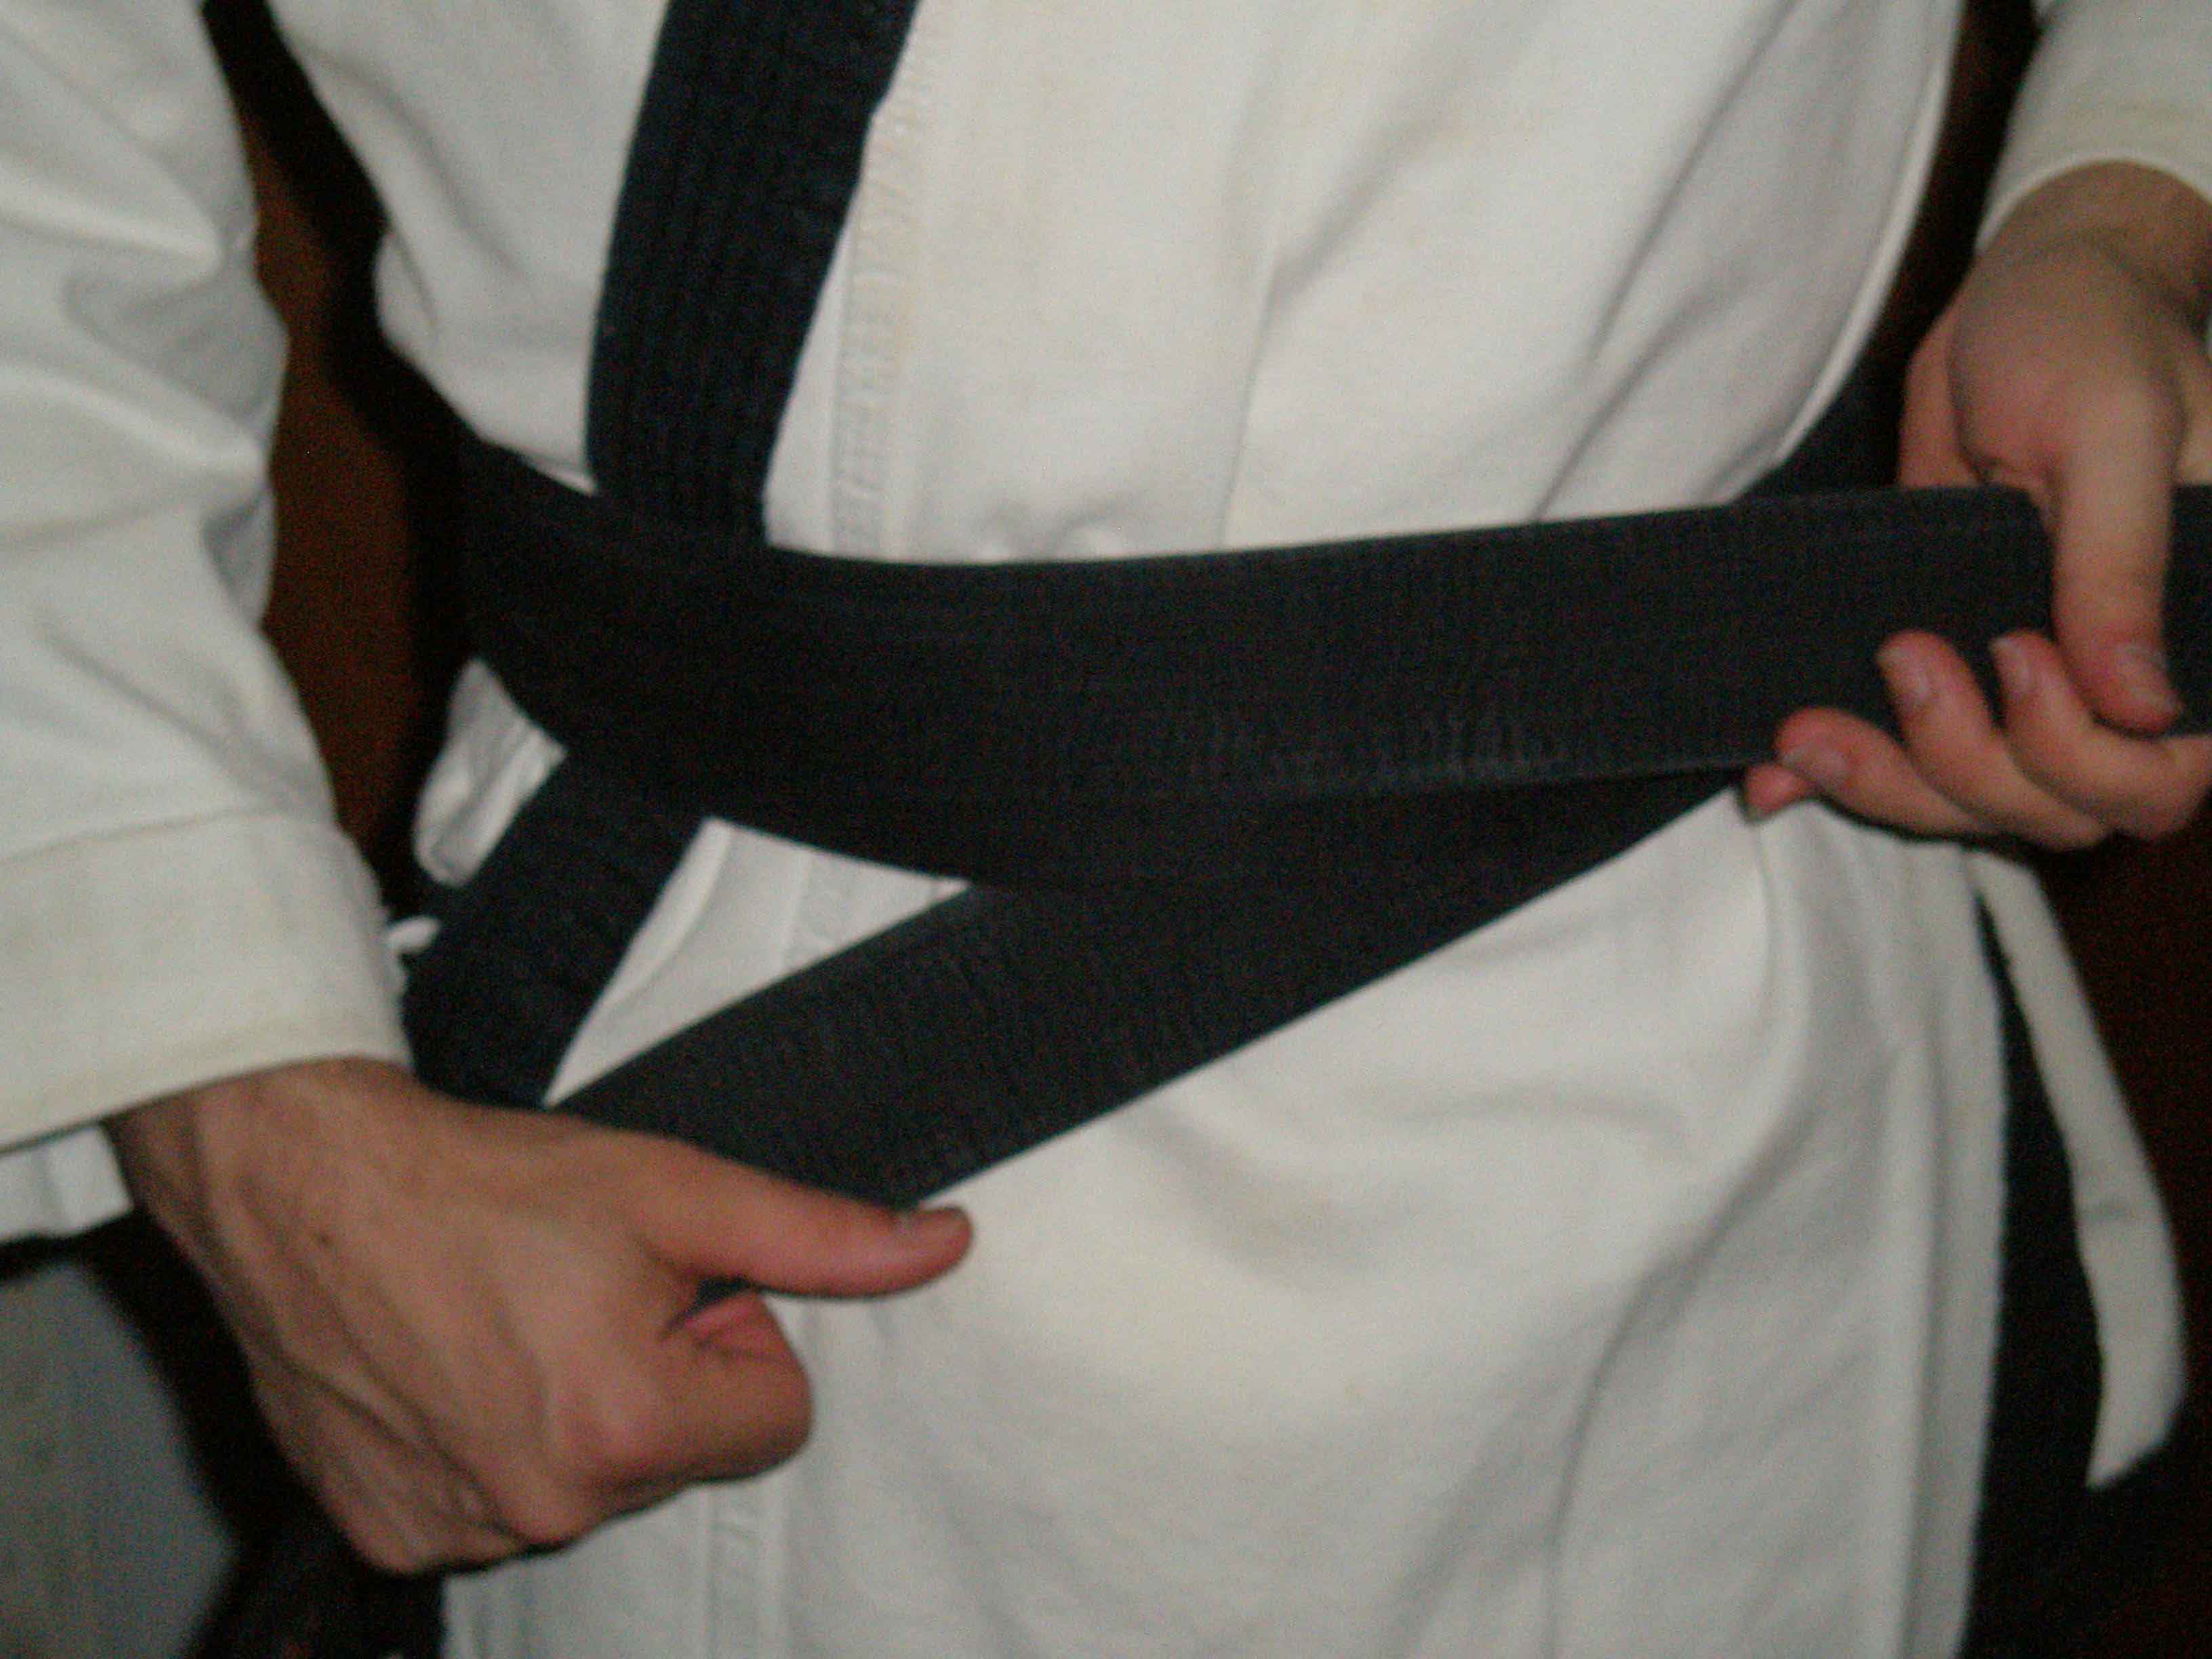
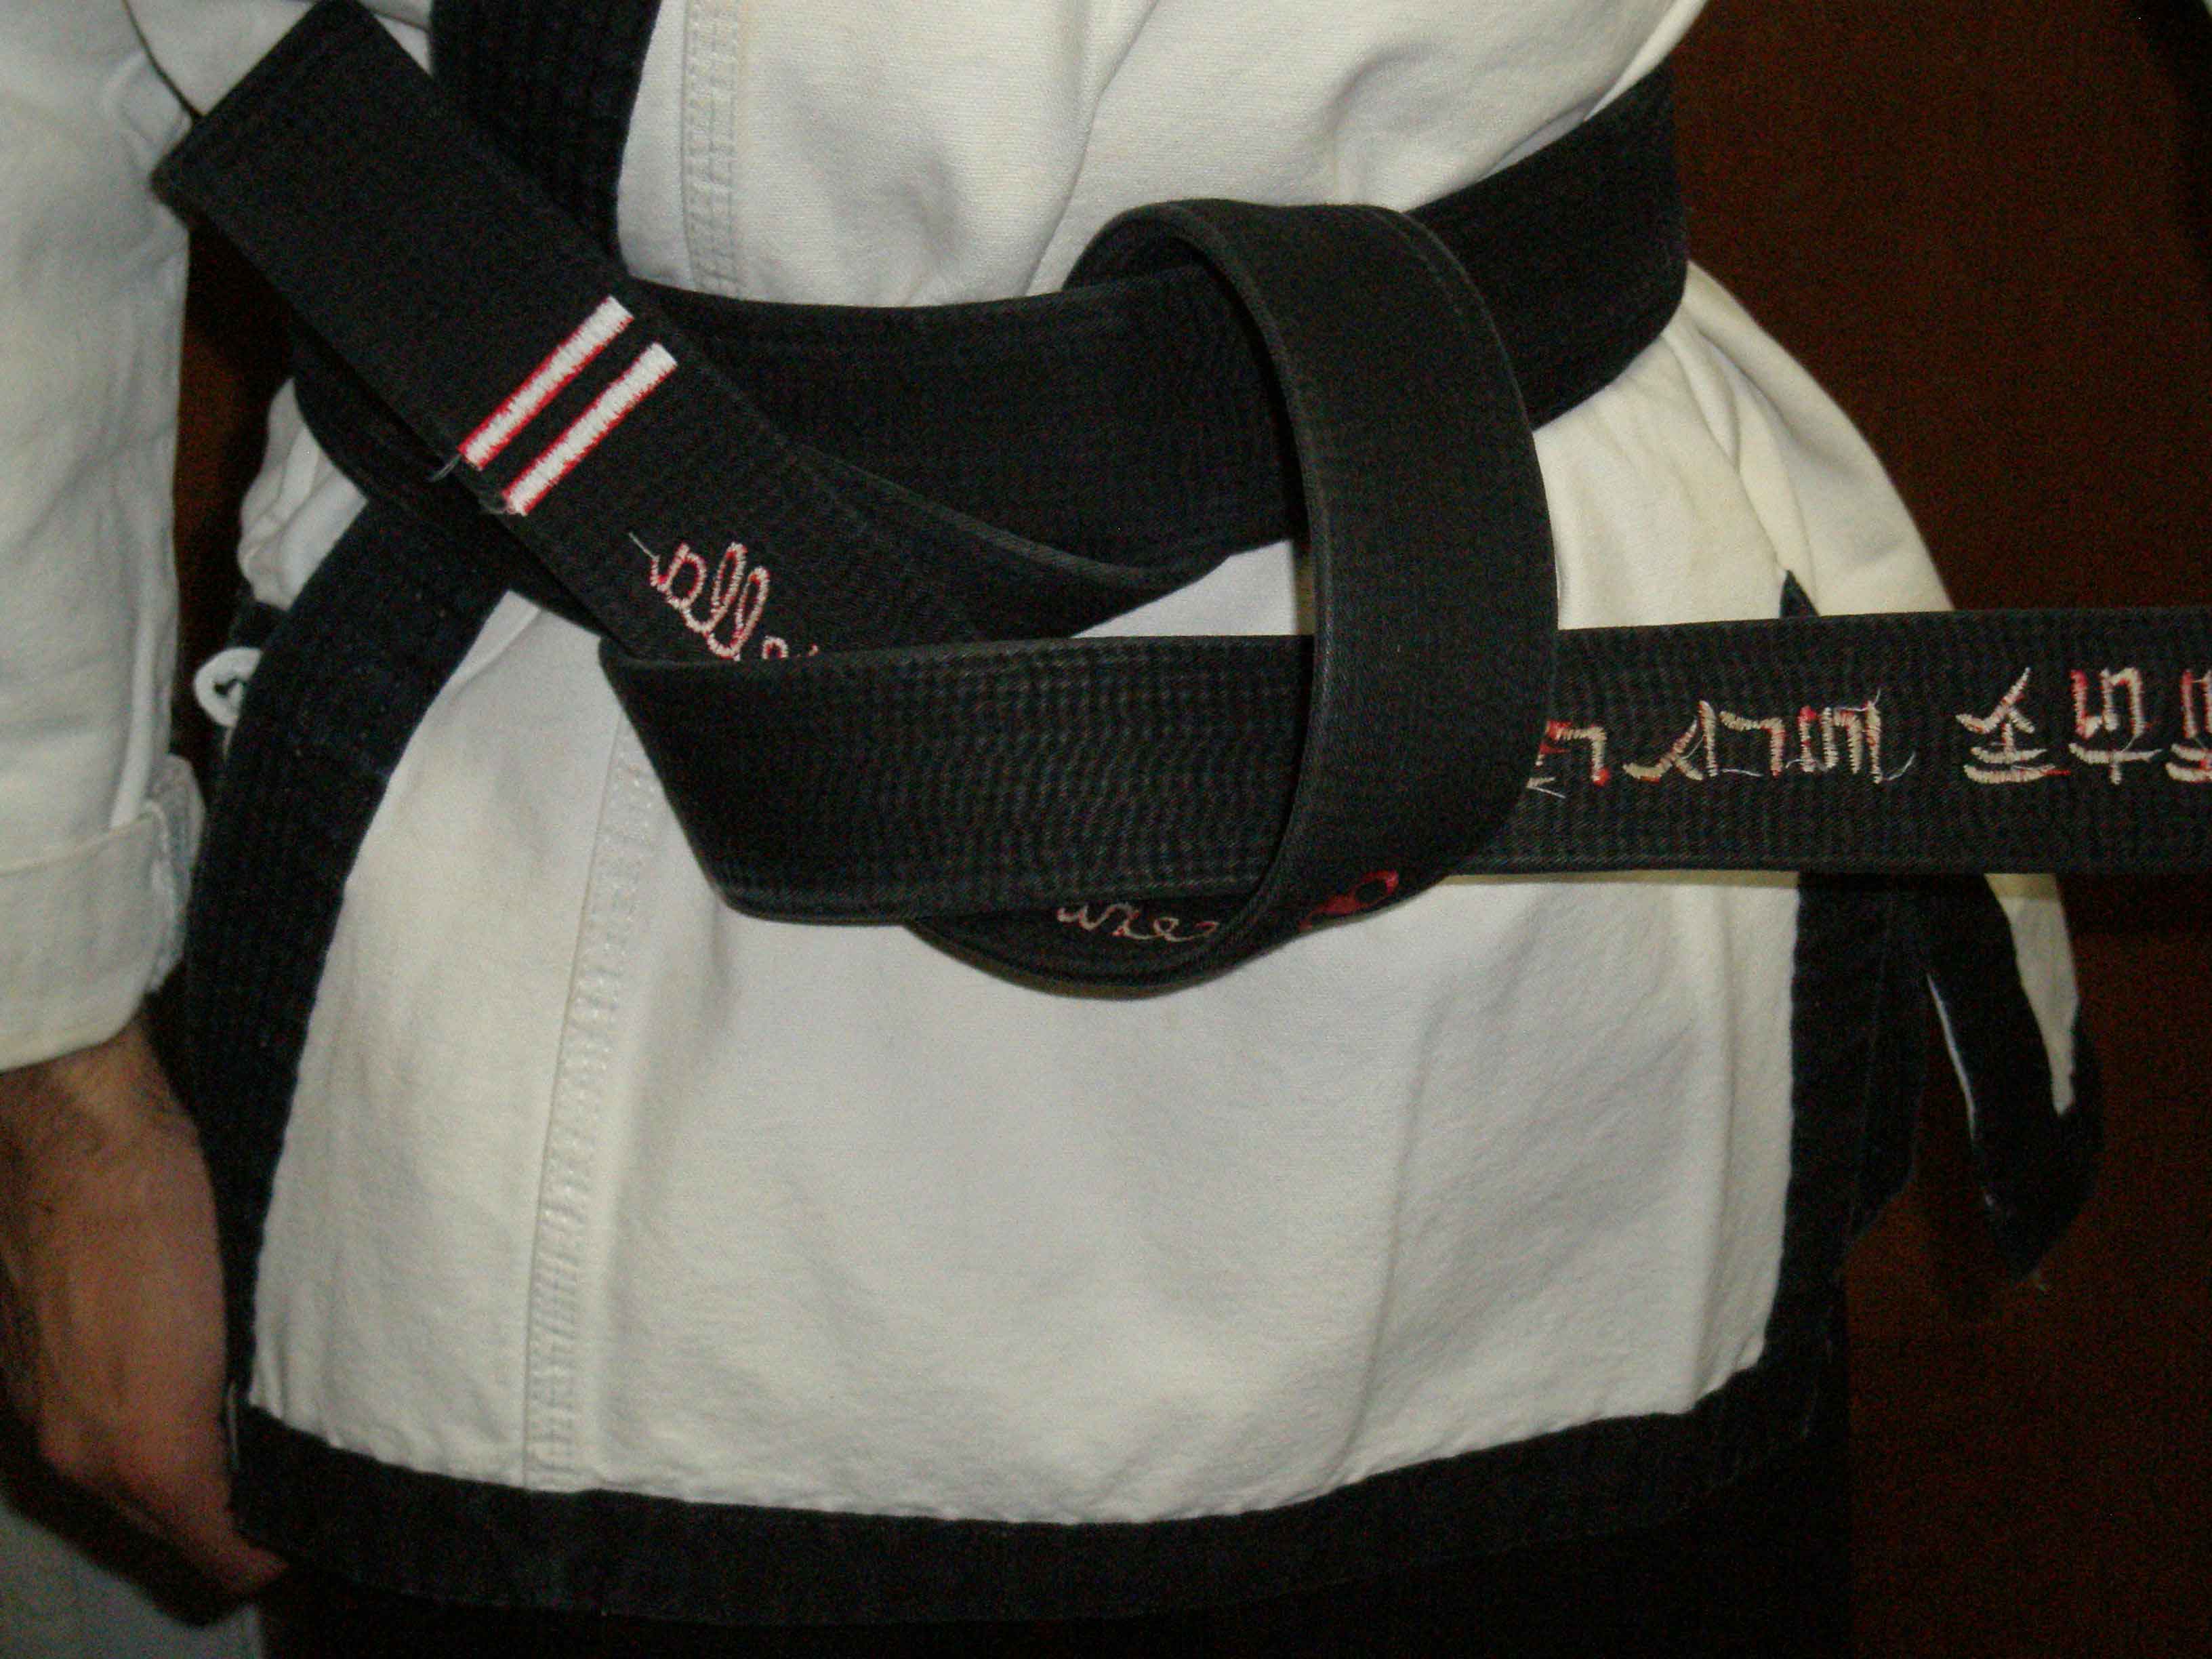
Move the original tail to the right passing under (closest to your body) the now – left tail.
-
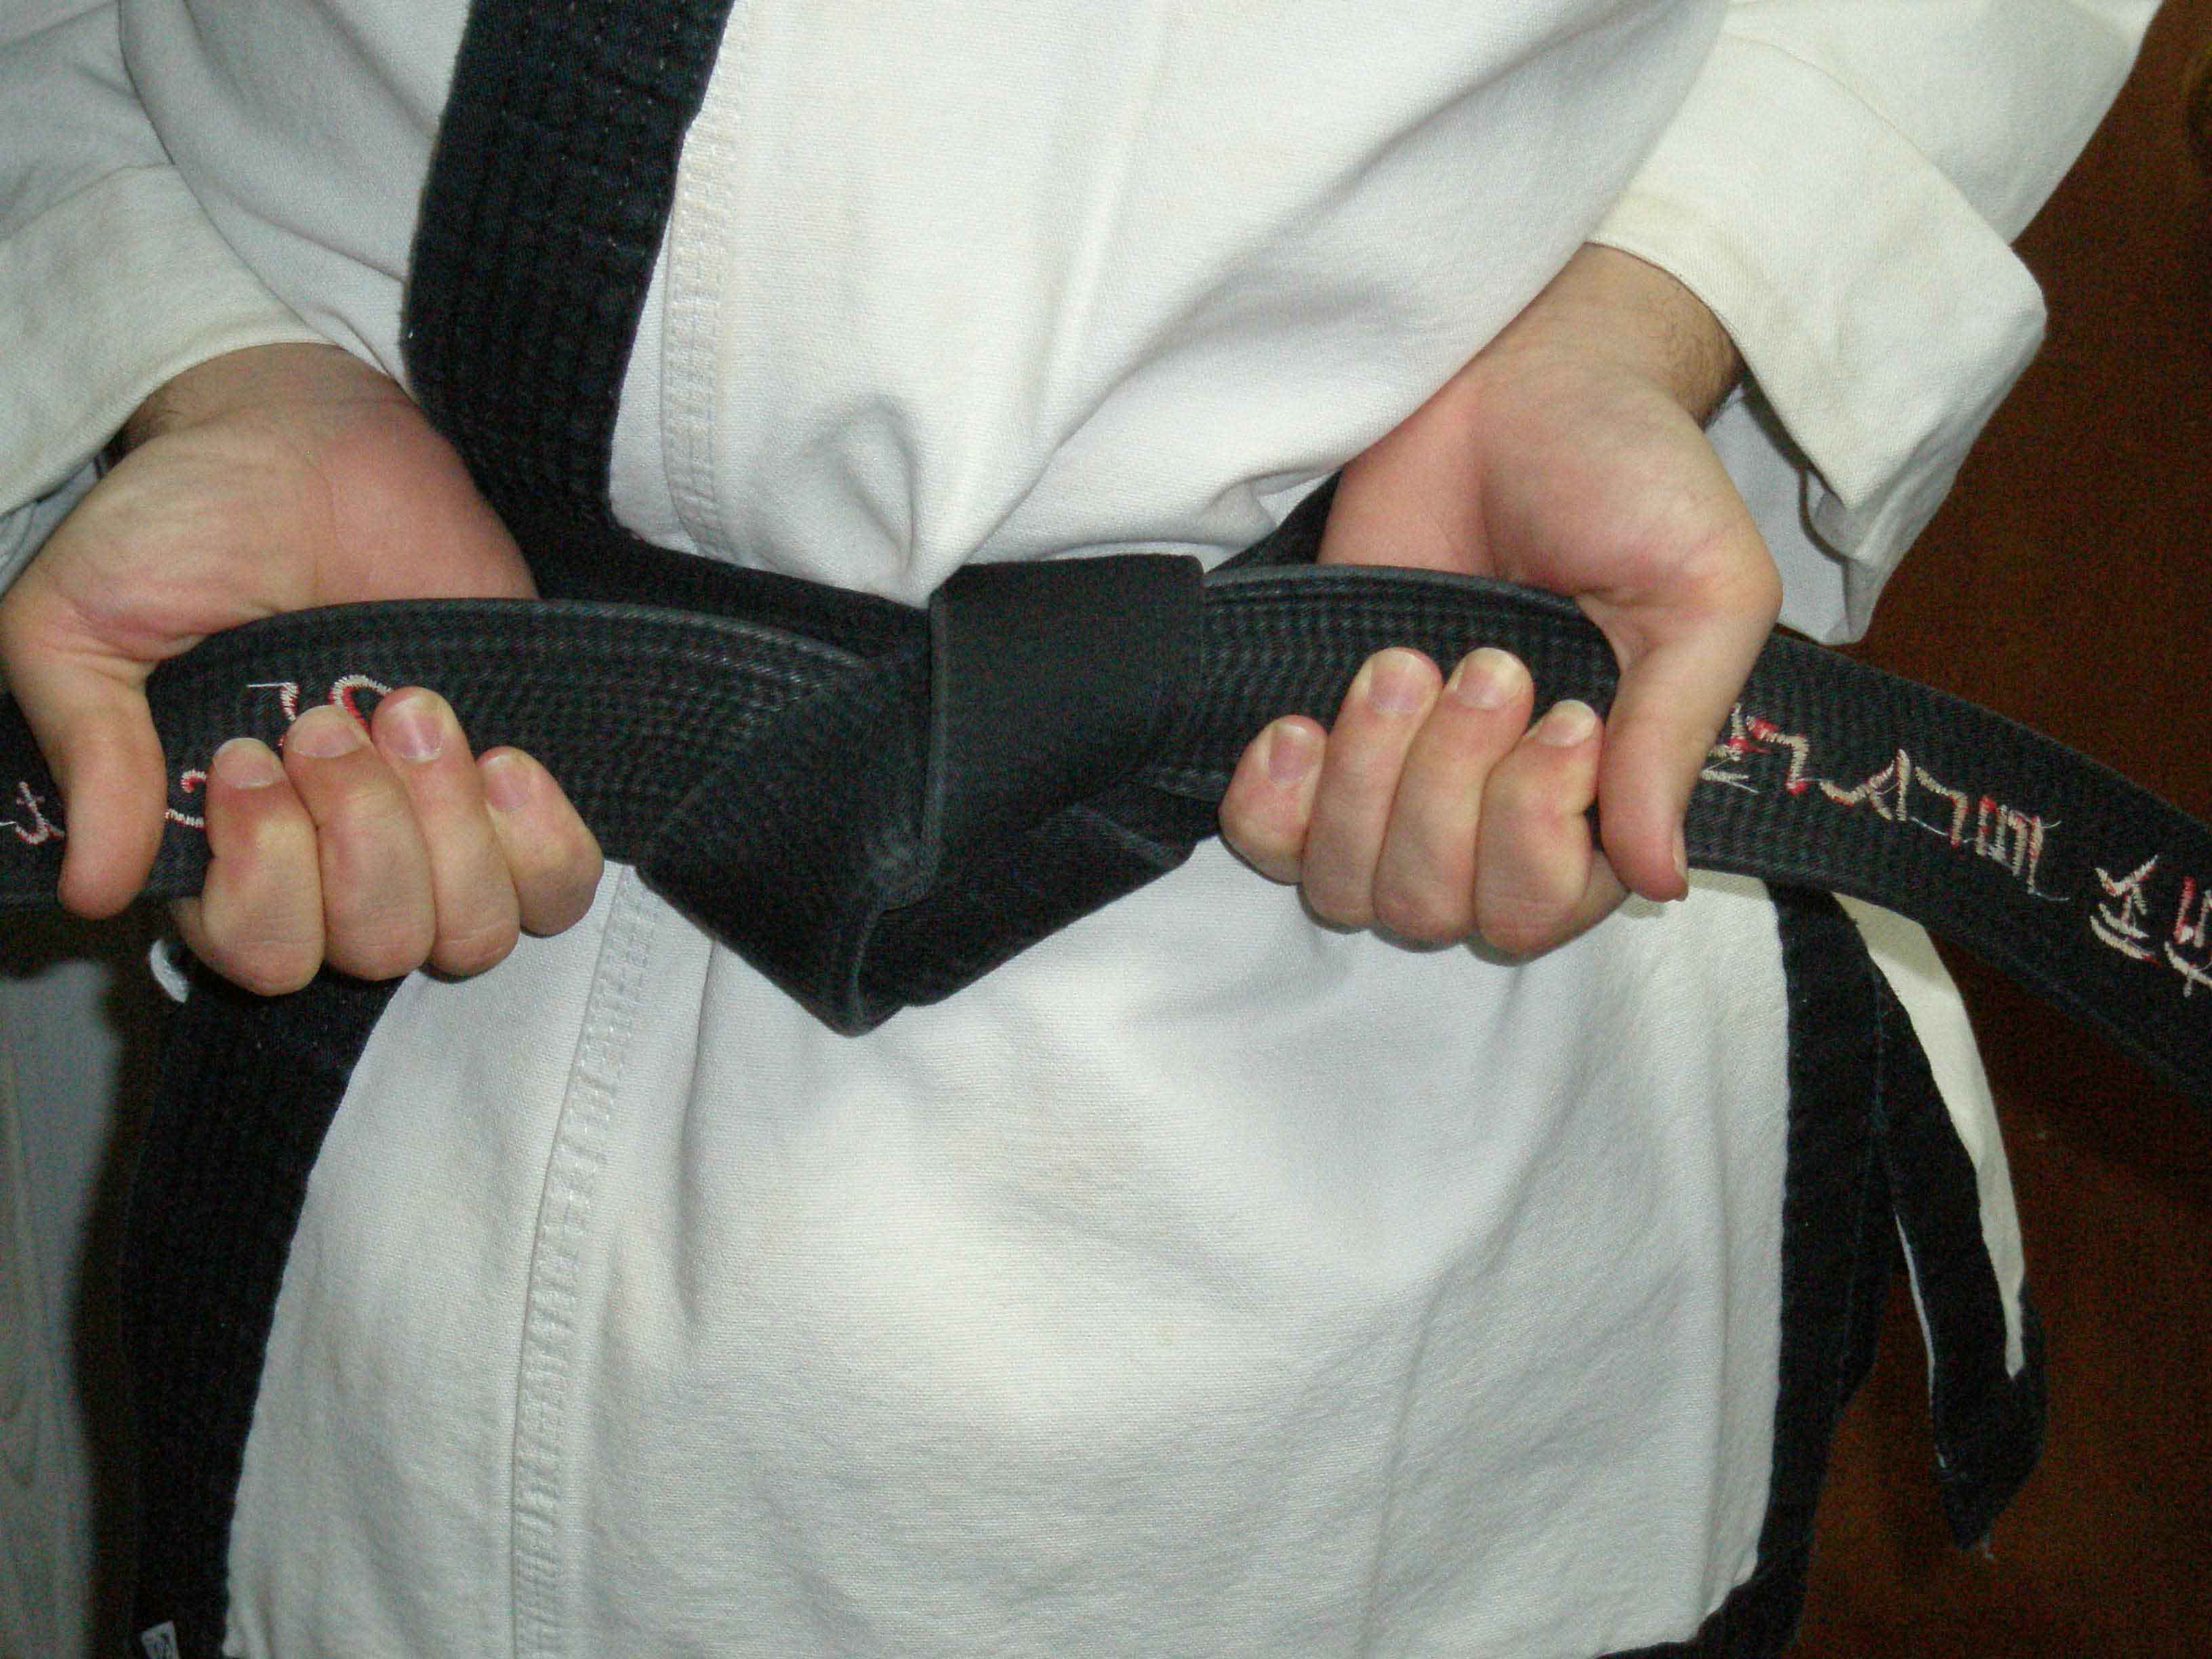
Loop the embroidered left end over the embroidered right end and insert the tail end into and through the knot.
-
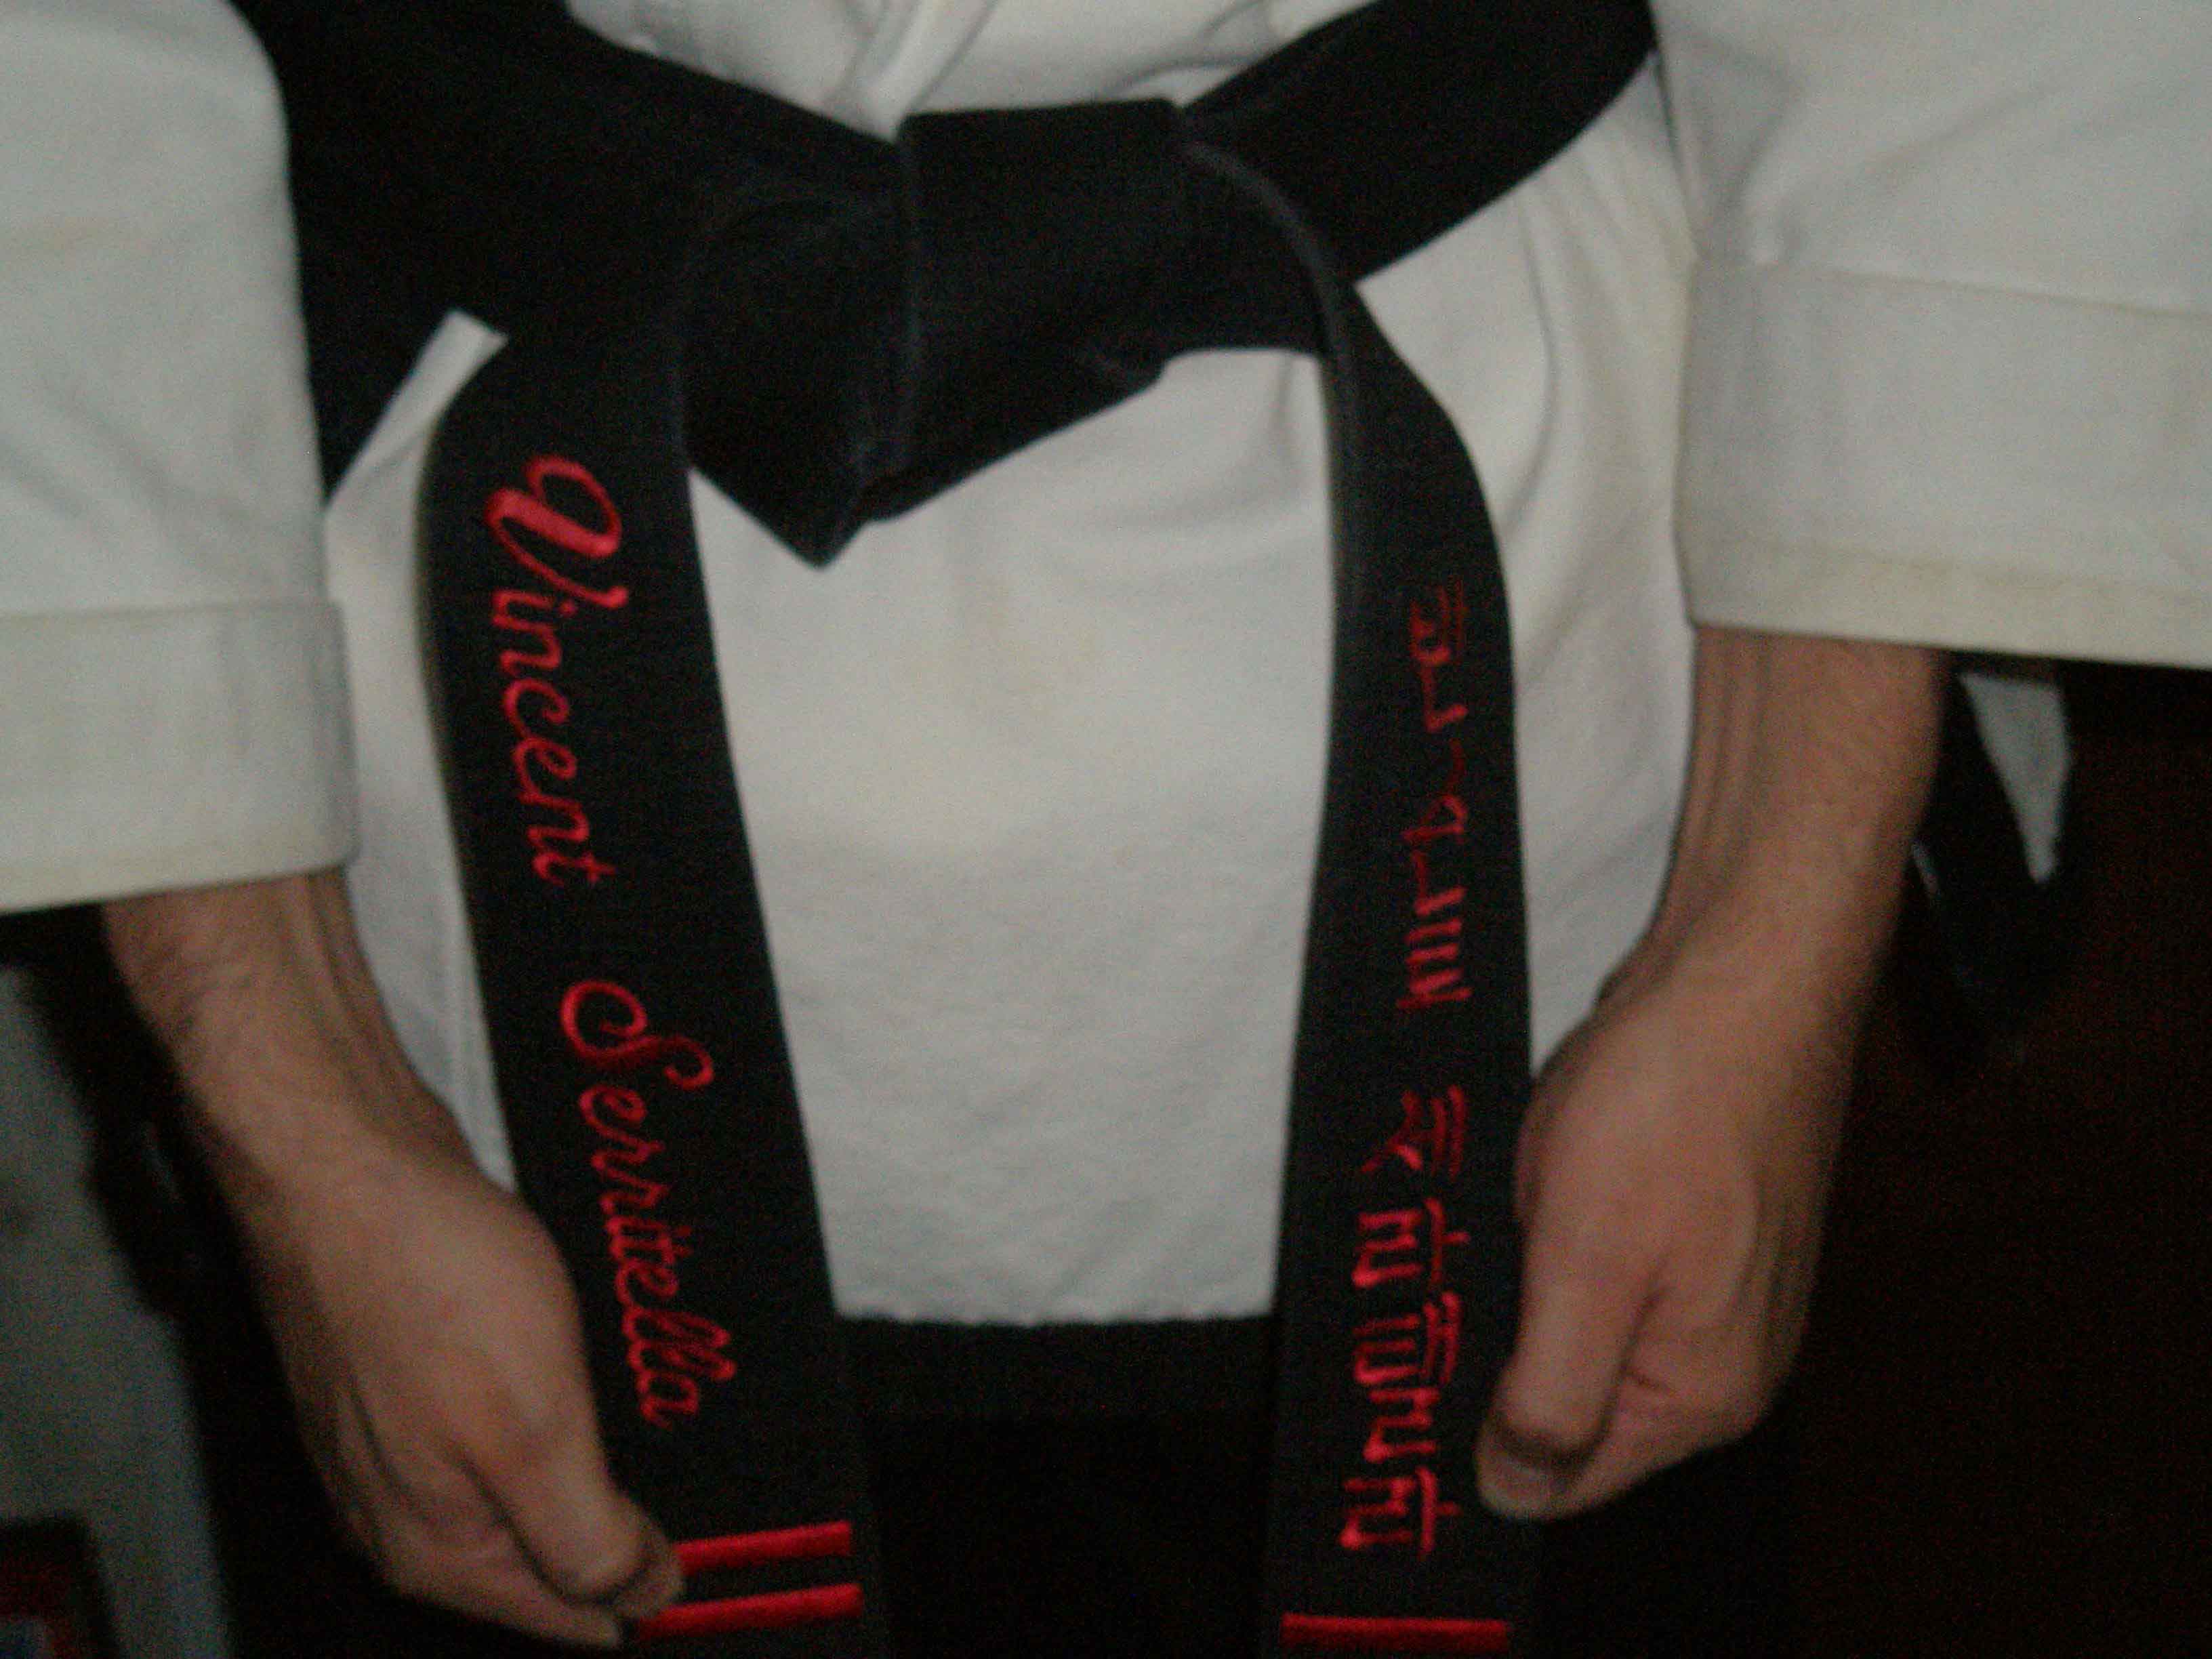
Pull the knot tails tightly and both ends should be the same length.
-
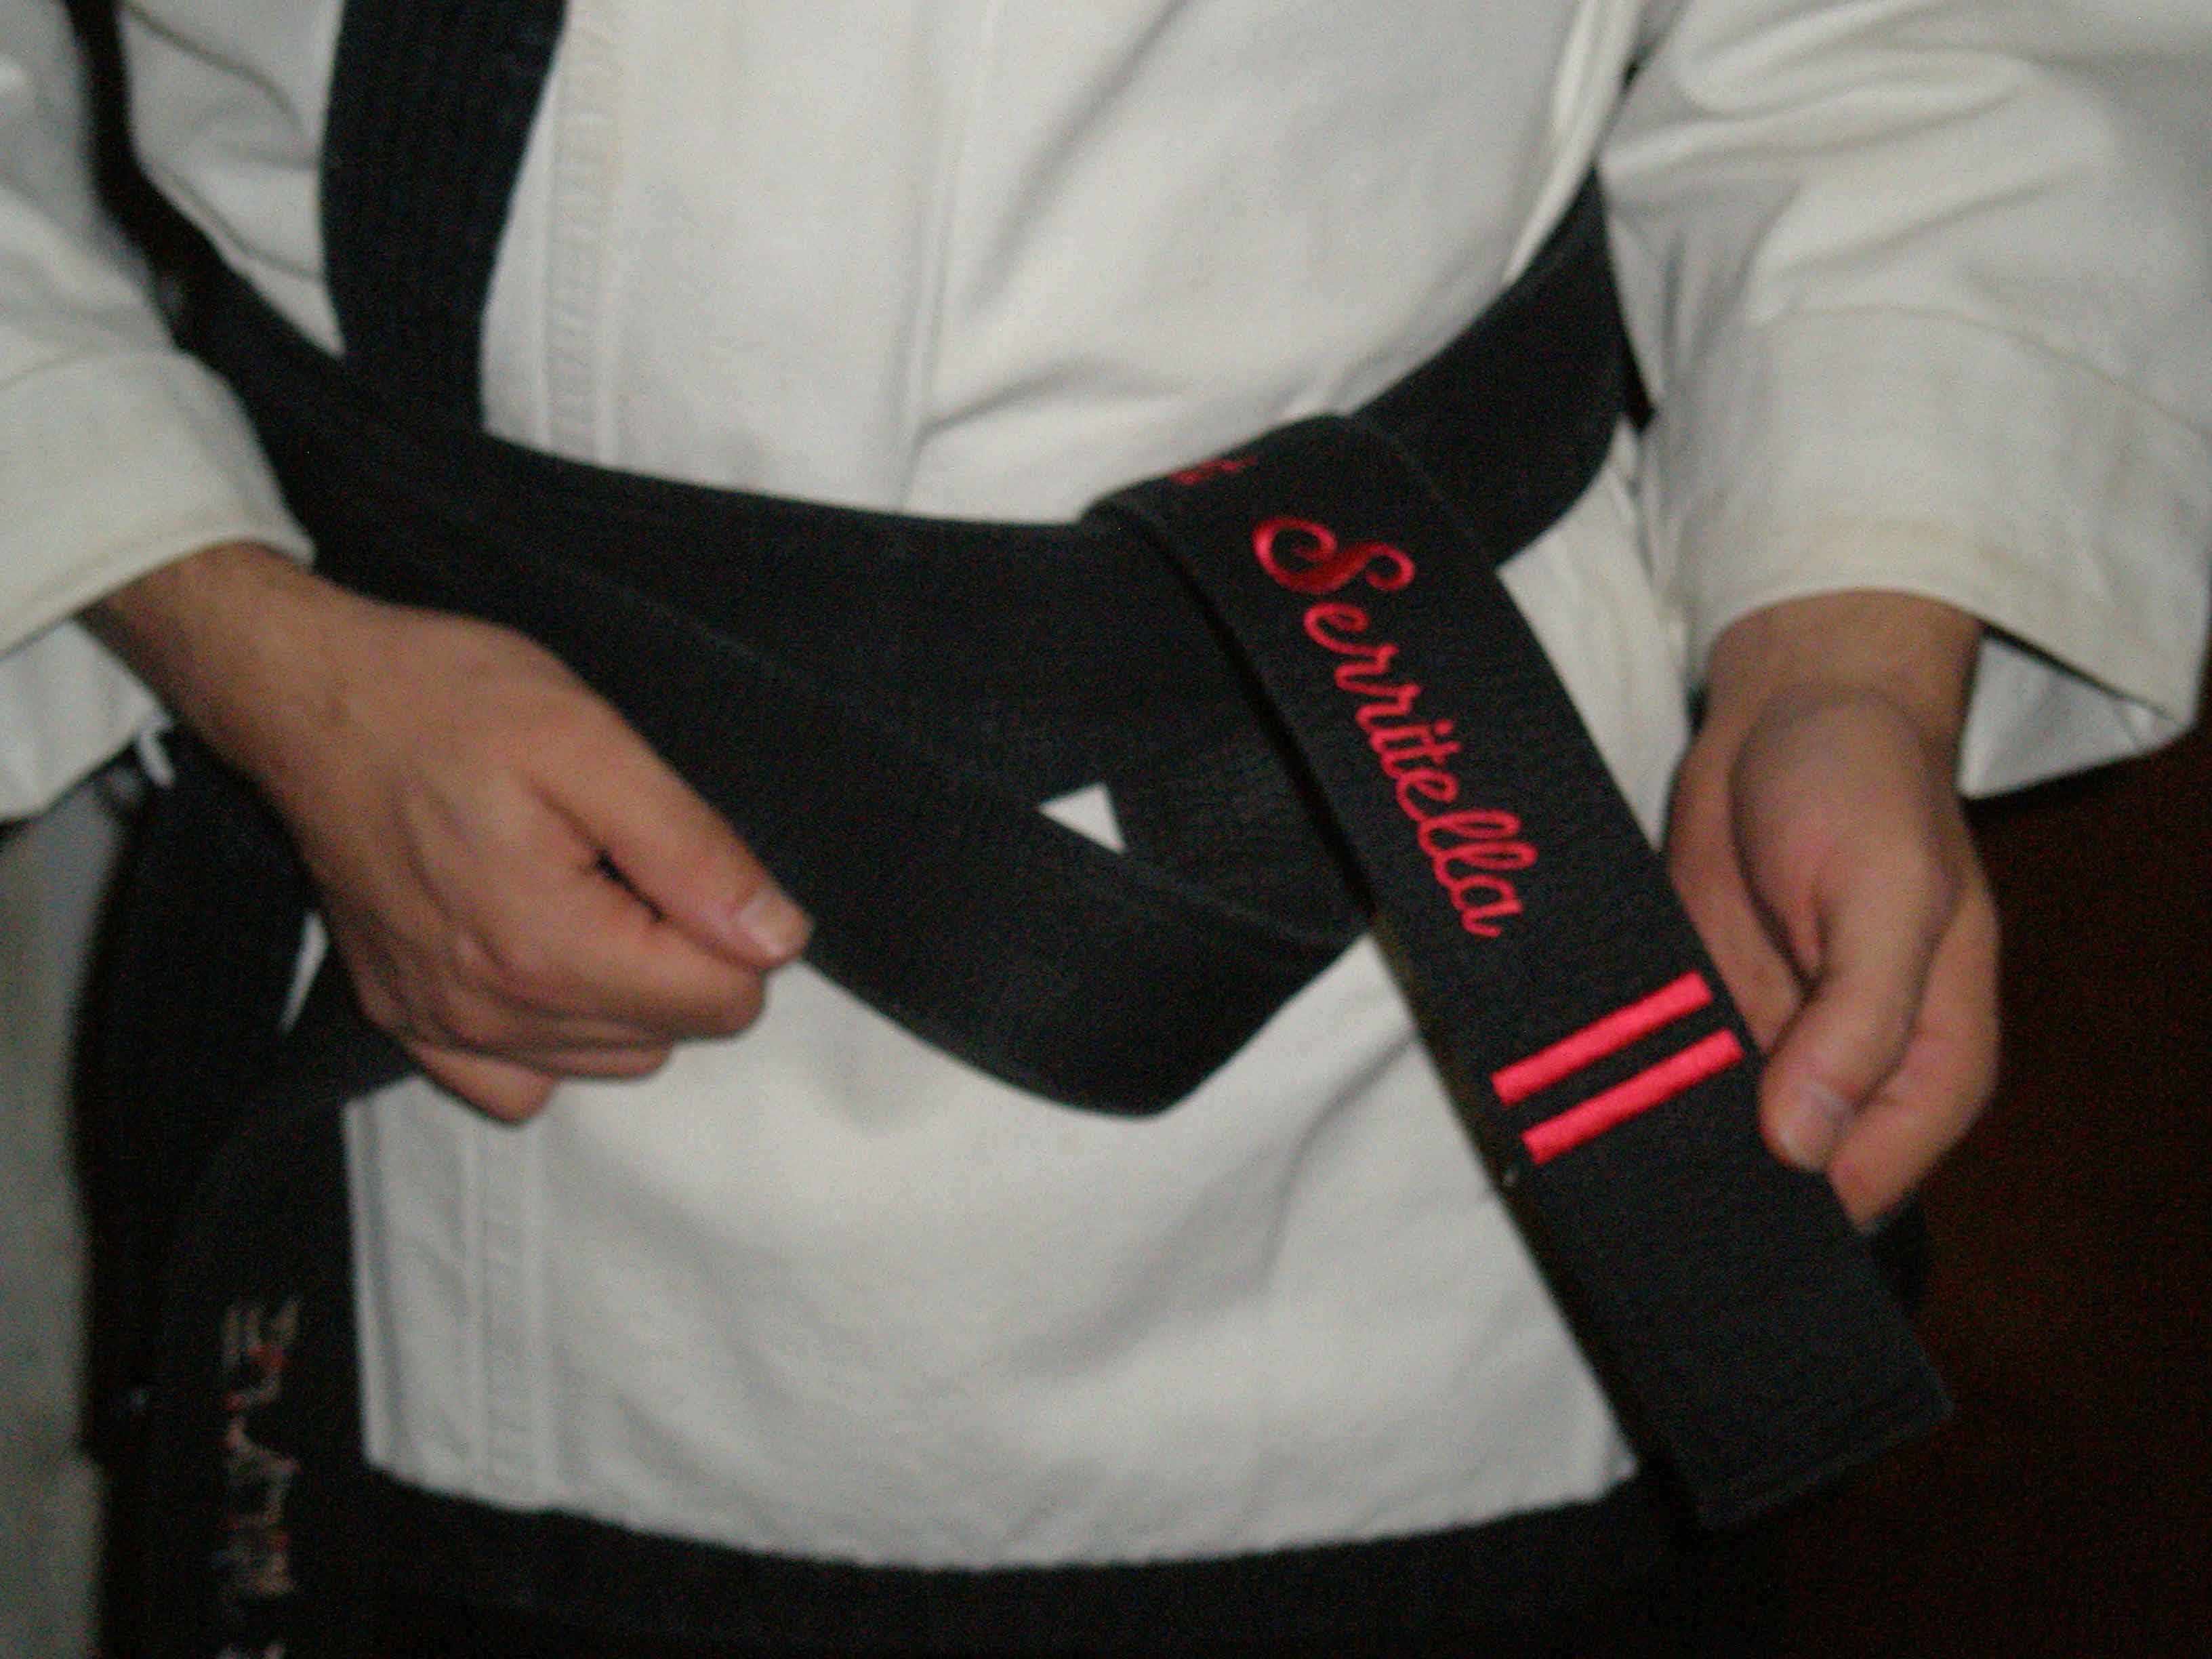
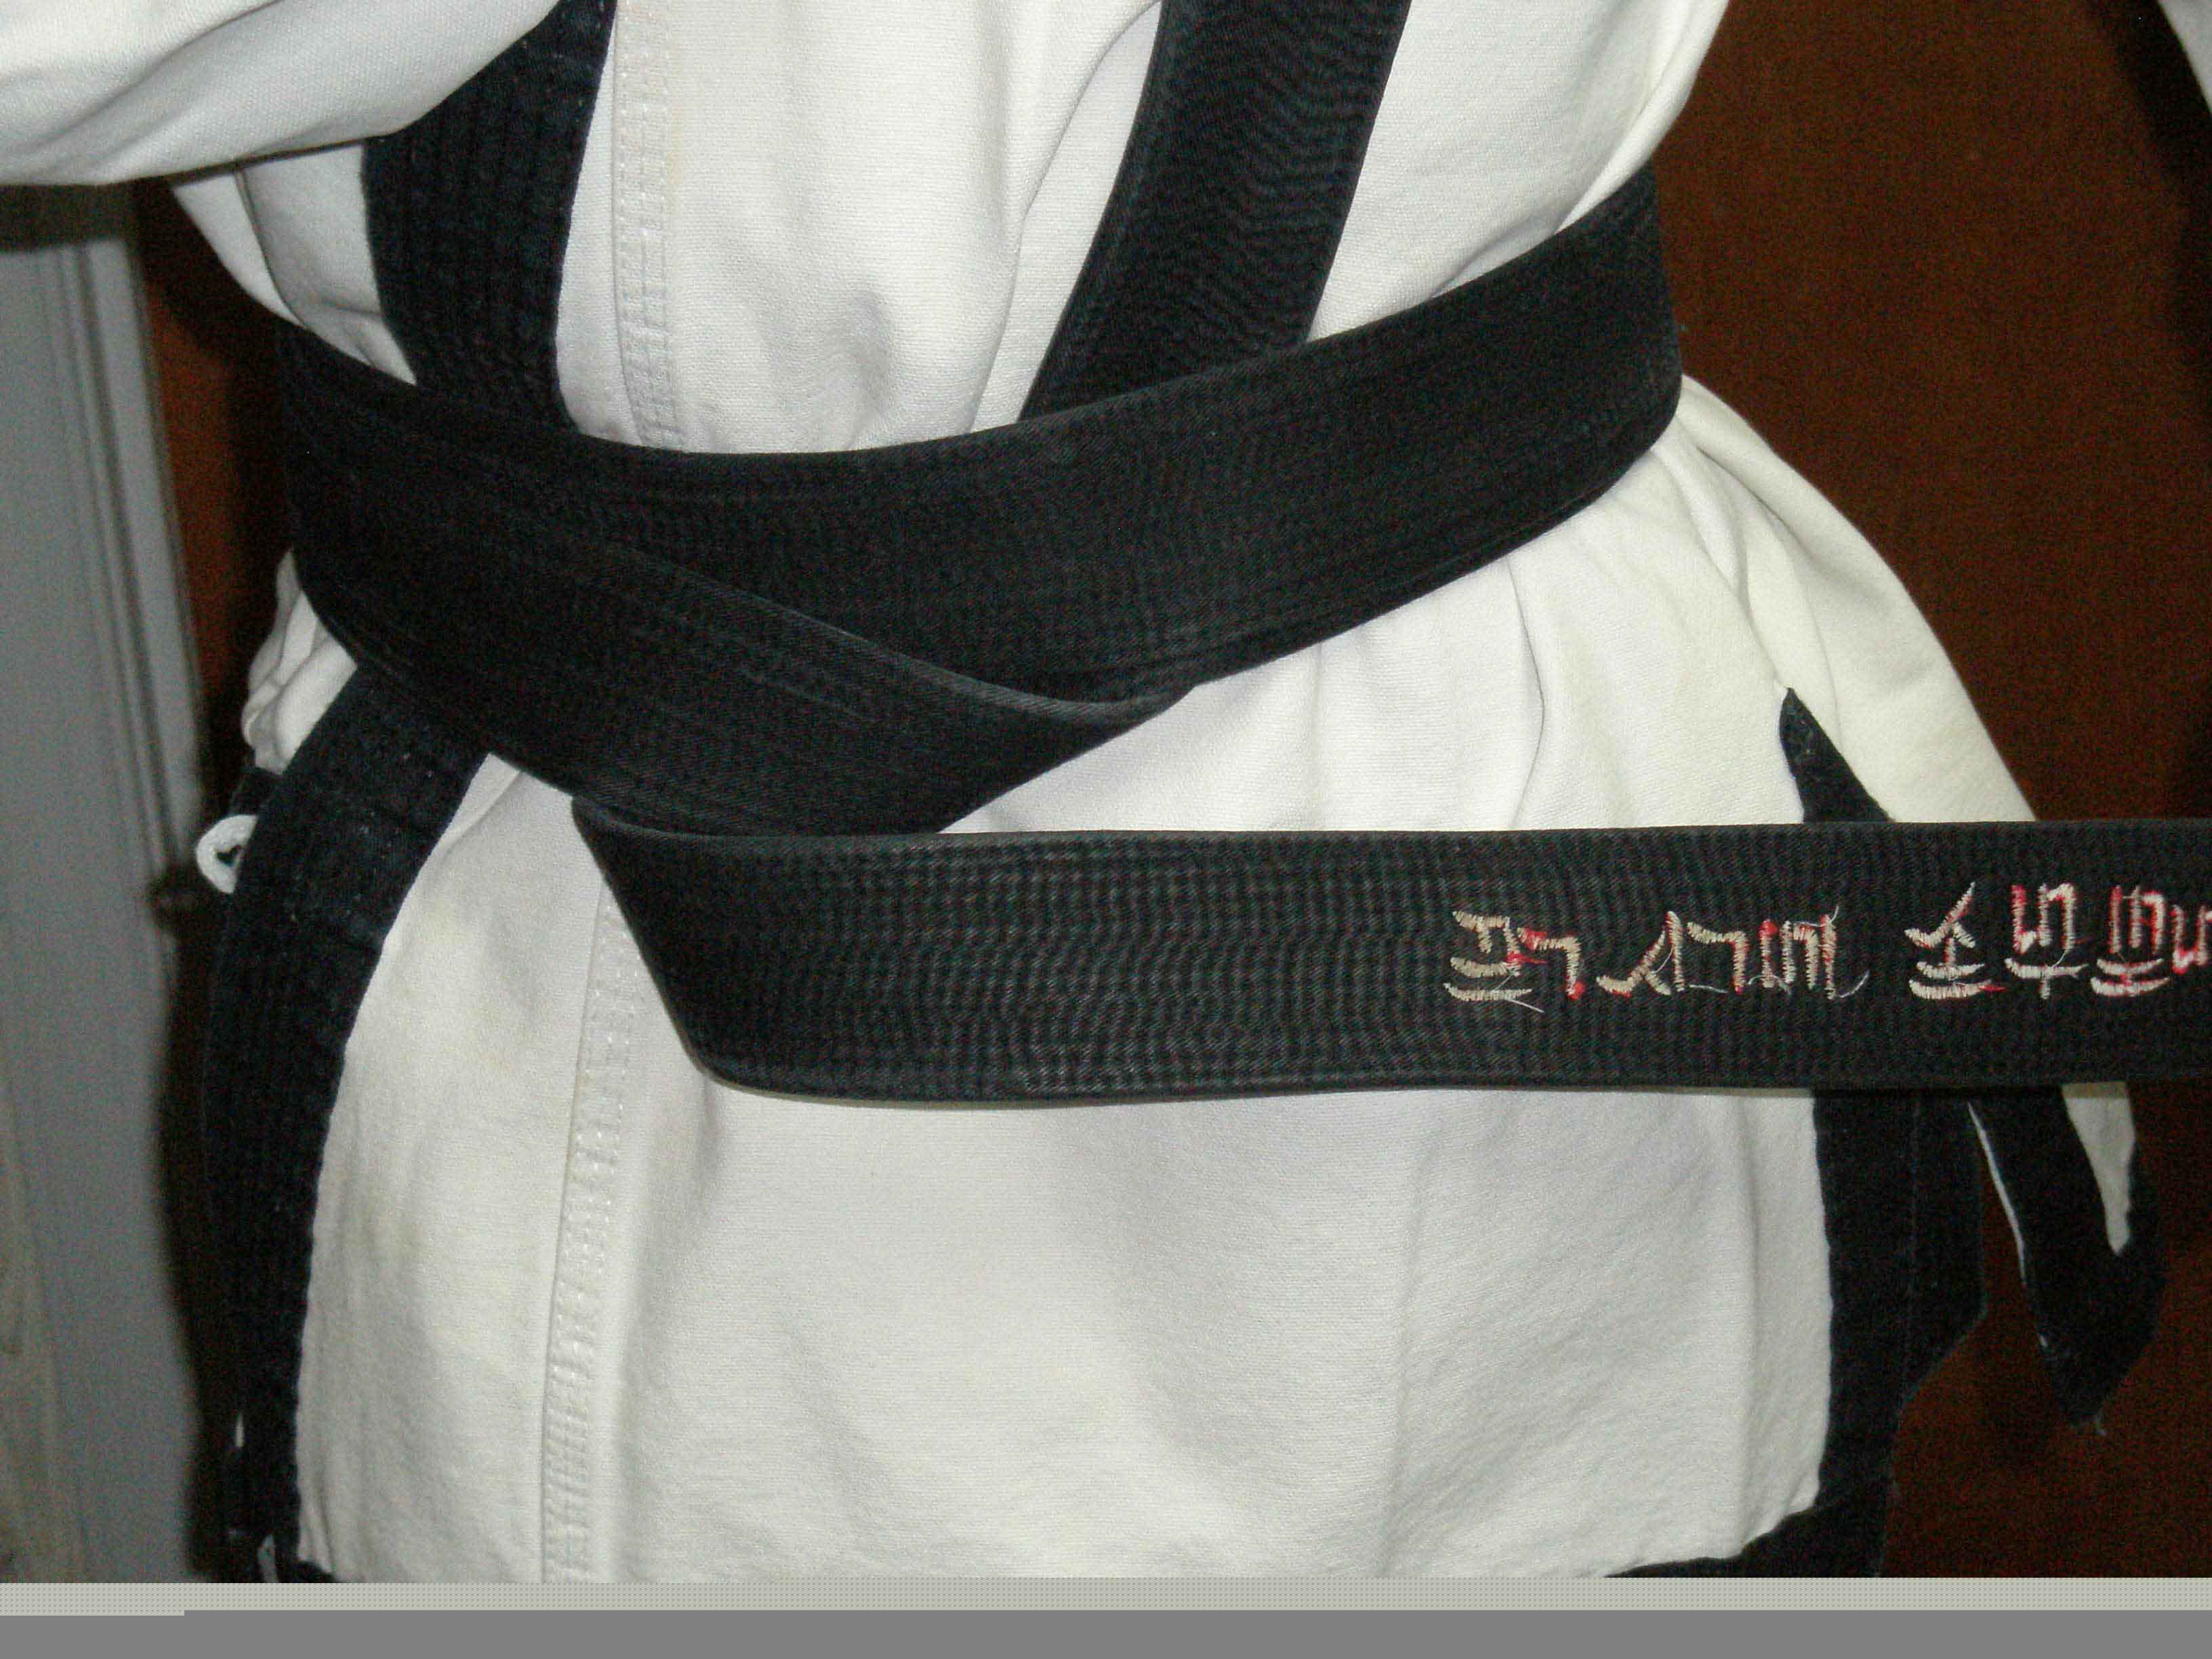
The embroidered tails should look like either of the photos – depending on how you ordered your embroidered belt lettering.
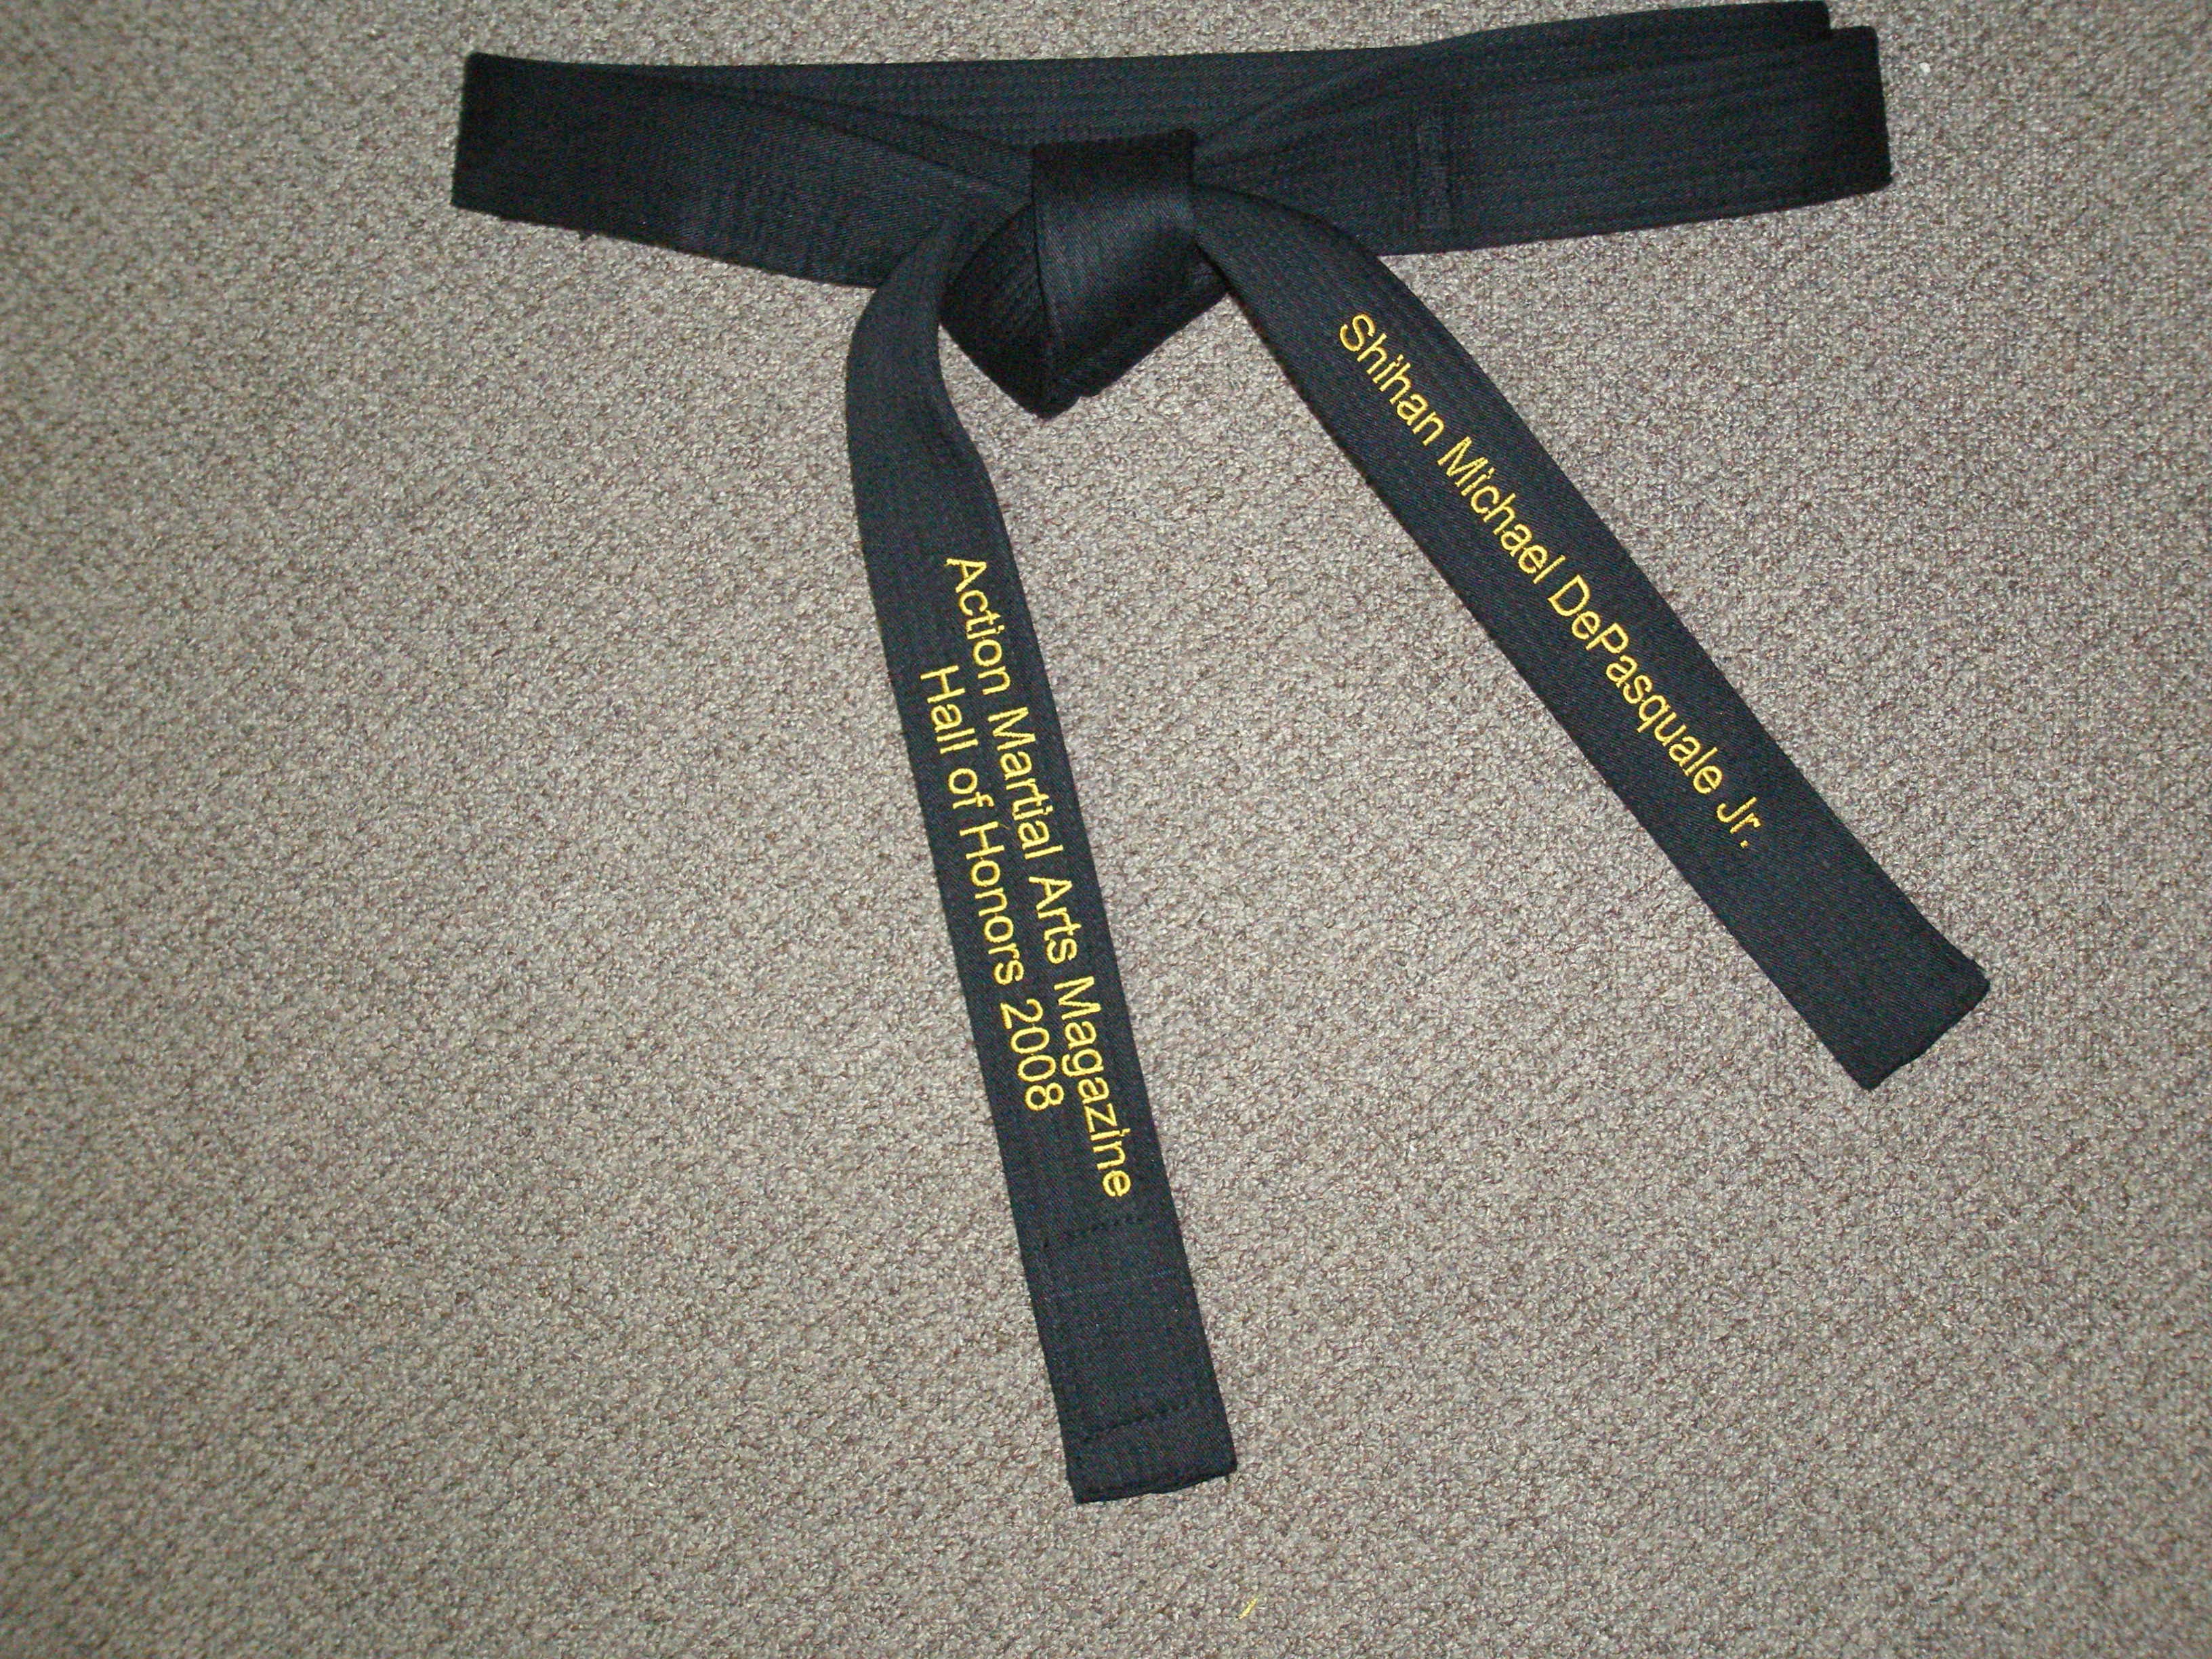
Both tails embroidered Knot to Tail tip
|
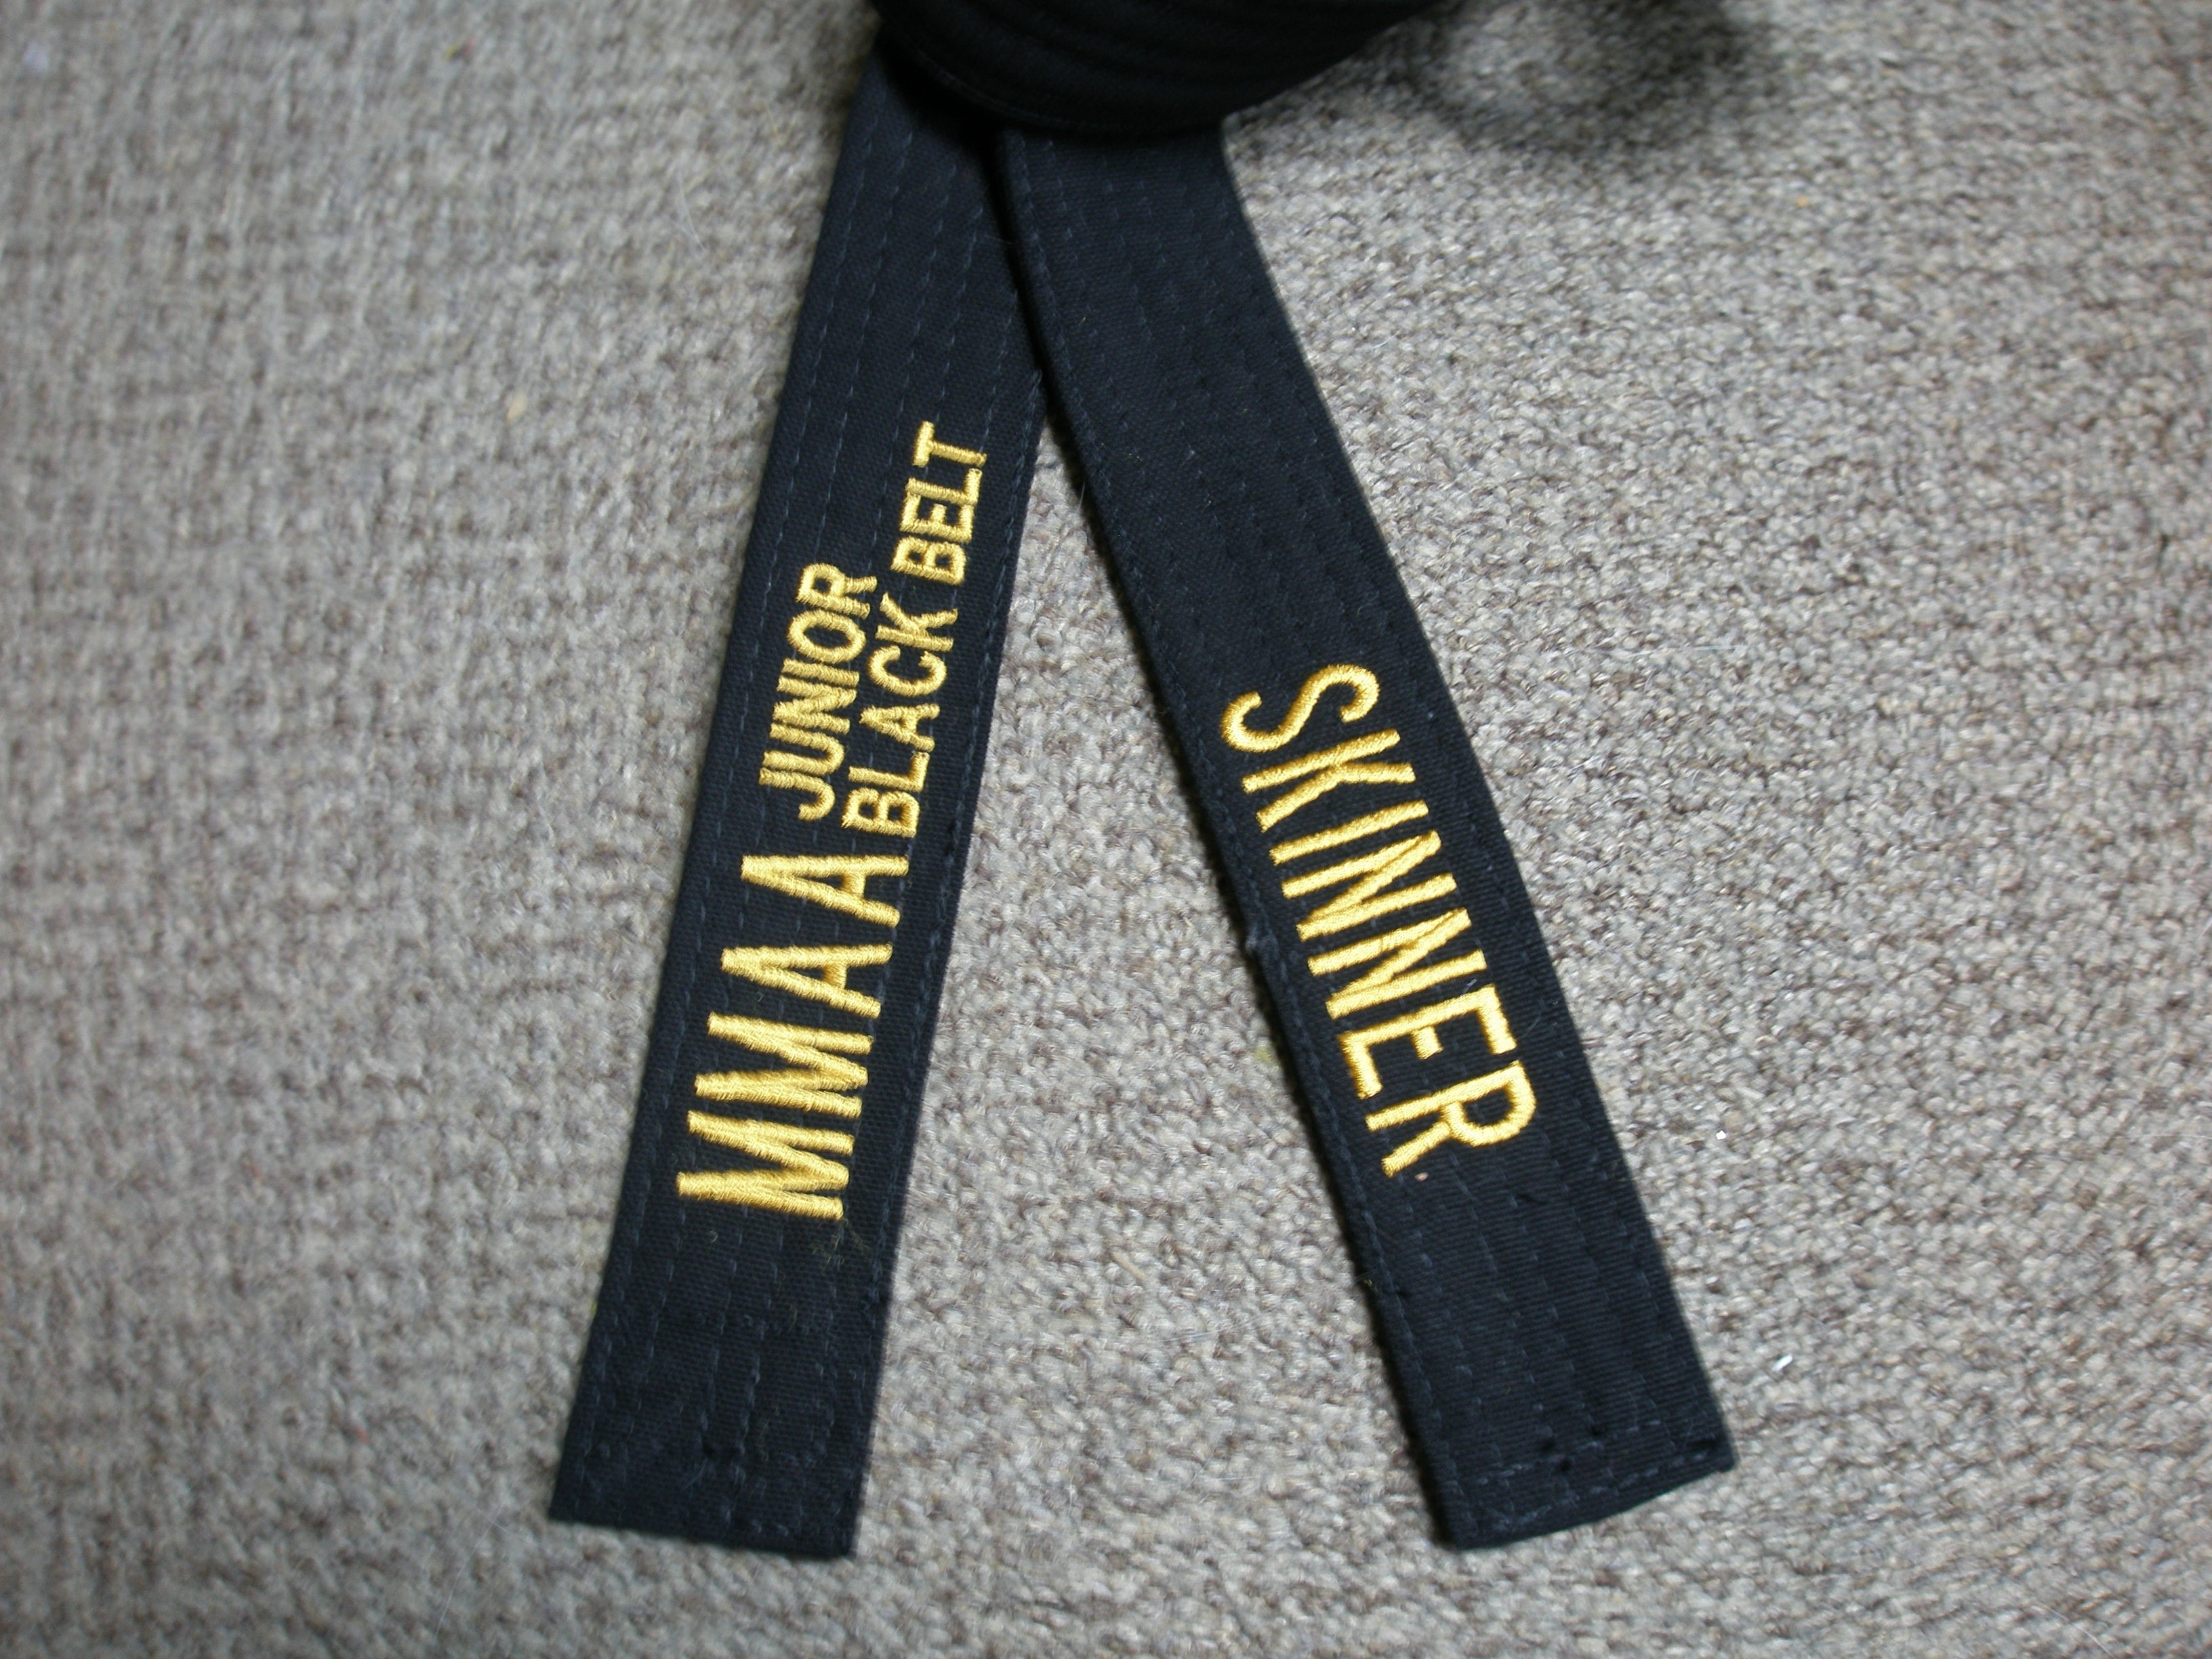
Tails embroidered Knot to Tail and Tail tip to Knot
|
Picture by picture tutorial given below from left to right line by line:
|


